


How to Create Stripes on Gel Nails - No Tape Required!
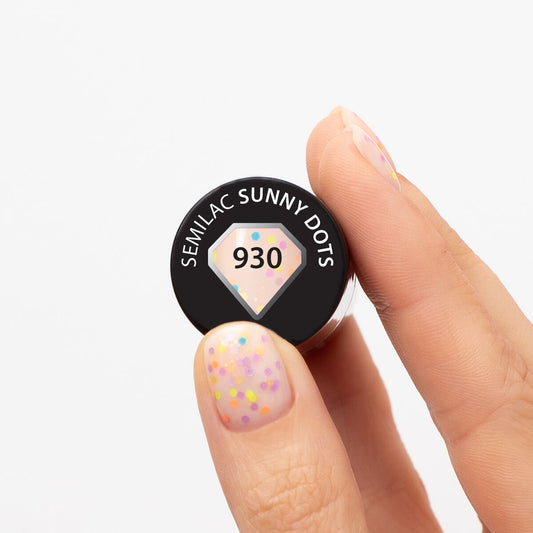
Striped gel nails are one of today’s hottest manicure trends – right alongside the subtle “dotticure,” featuring charming little dots. Learn everything you need to know about this stylish look, including how to create stripes on your nails without tape – step by step – for a stunning result.
Gel Nail Art: Vertical or Horizontal Stripes?
The direction in which you paint your stripes can dramatically affect the overall appearance of your manicure. The best choice ultimately depends on the look you want to achieve, but in most cases – regardless of the shape or length of your nails – vertical stripes are more flattering. That’s because they visually elongate and slim the nail plate, making them especially ideal for shorter or wider nails, where a more refined and elegant appearance is desired.
Horizontal stripes, on the other hand, tend to make short or wide nails appear even wider. So when do horizontal lines work well? Primarily in classic French manicures. They can also be a smart choice if your nails are particularly narrow and you want to create the illusion of width. Horizontal stripes often look better on longer nails, too.
Pro Tip: Vertical and horizontal stripes aren’t your only options. Diagonal lines can also visually lengthen the nails and make for a chic, modern design.
How to Create Simple Striped Nail Art on Gel Polish
If you’re going for a striped look on gel nails, there are a few essential rules to follow. Keep the tips below in mind to achieve a flawless finish.
Thin Lines Are Best
Even vertical stripes can look bulky and unflattering if they’re too thick or imprecisely applied. To avoid this common mistake, it’s worth practicing a bit and using the right tools and products (more on that below).
Pro Tip: Practice your lines on a plastic nail swatch or a piece of foil before applying them to your nails.
Less Is More
When it comes to line designs, minimalism is key. One, two, or at most three lines will usually deliver the most elegant look. If you opt for three stripes, try varying their thickness to create a more dynamic effect.
Not Just Centered Lines
Although placing one or two stripes down the center of the nail is a classic choice, don’t be afraid to experiment with side placement. One stripe on either side or a combination – like one on one side and two on the other can – add character to your look. Just remember to tailor the number and width of the lines to the size of your nail plate.
How to Get Even, Clean Stripes on Nails: Tools & Products Matter
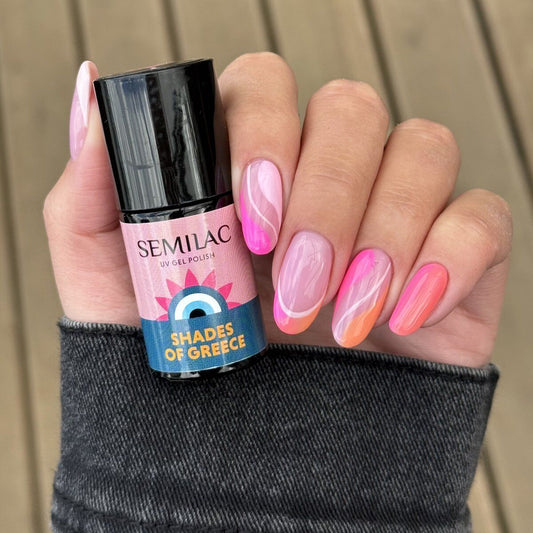
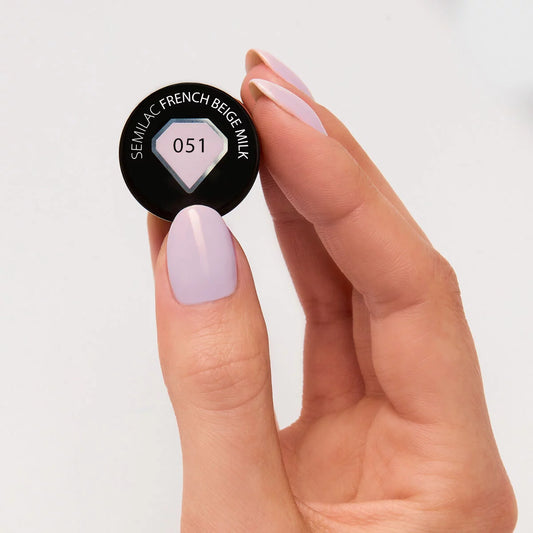
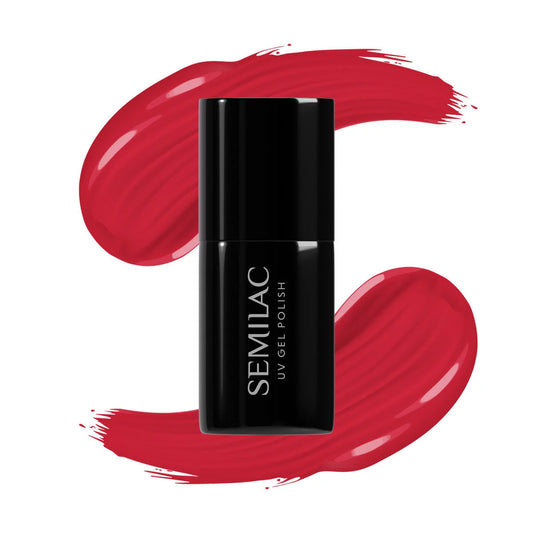
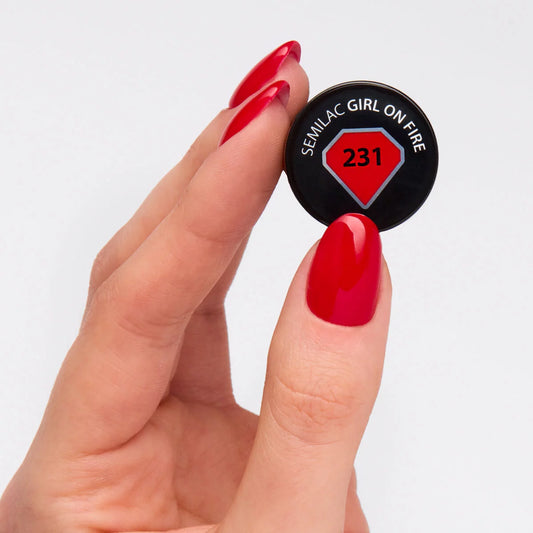
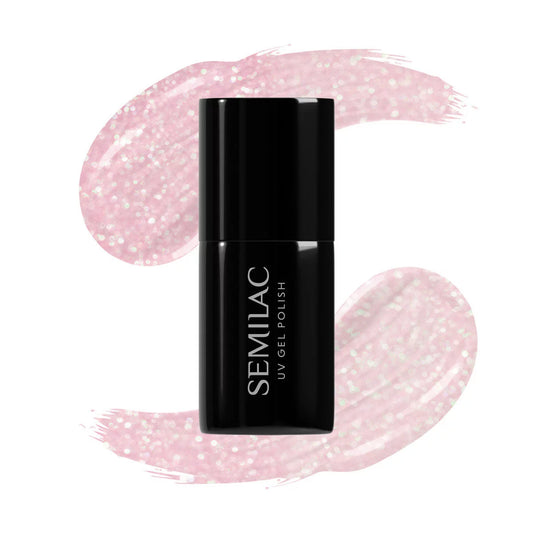
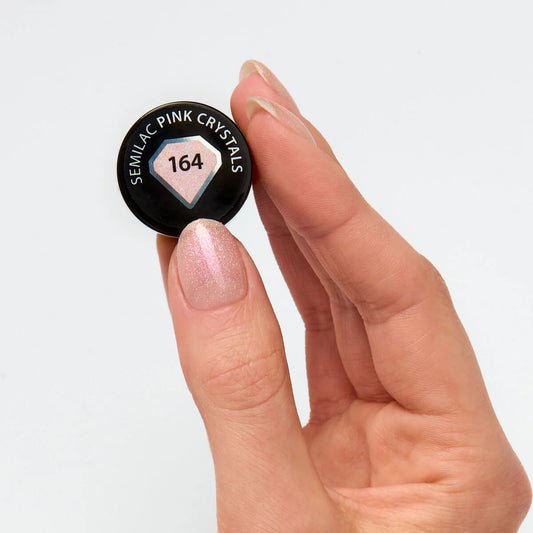
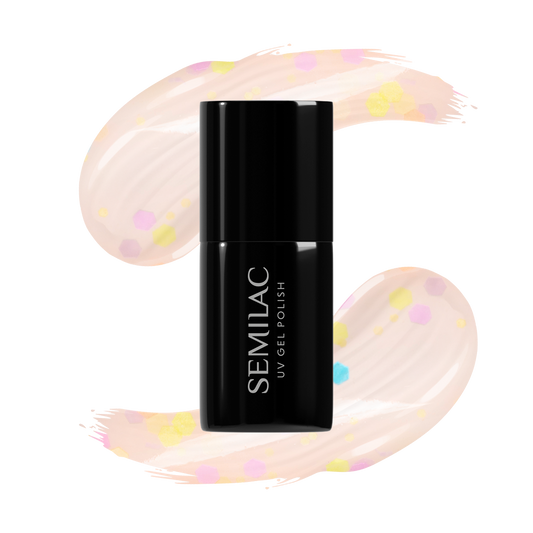
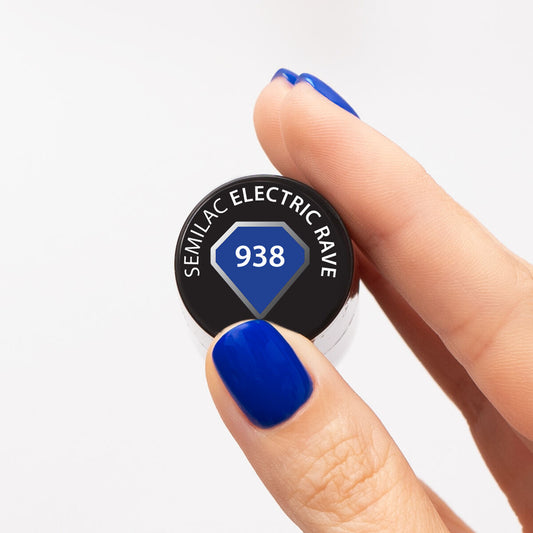
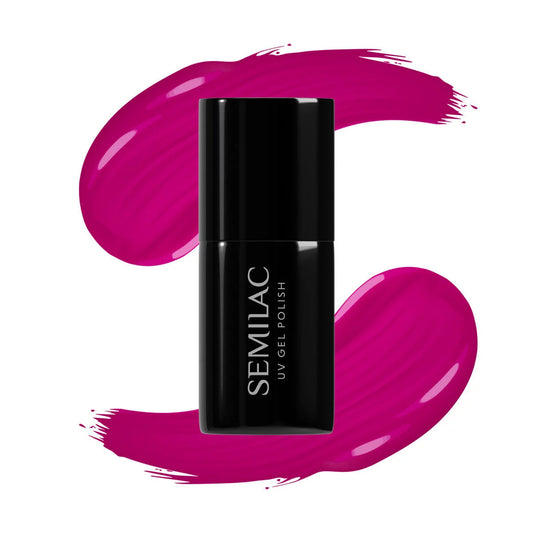
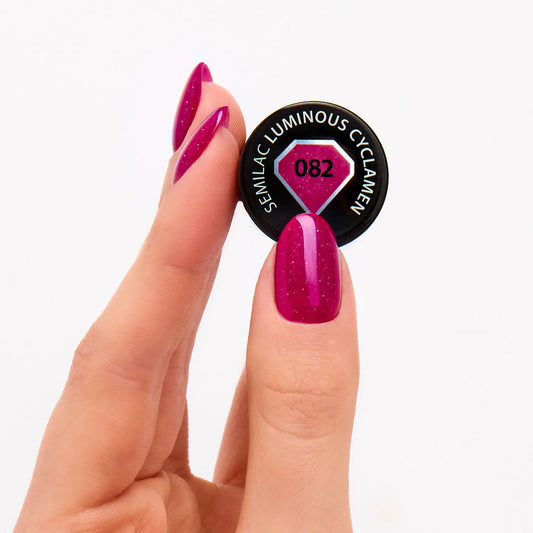
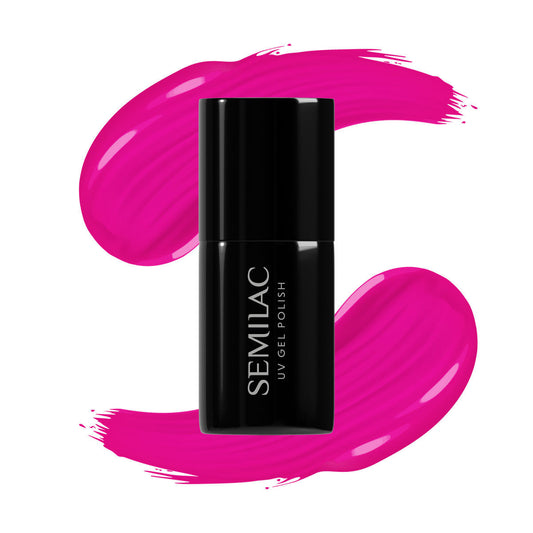
Worried that creating flawless stripes means using special stickers or taping off areas? Not at all! You don’t need advanced artistic skills to achieve this look – just the right tools. If you’re new to line work, Semilac gels are an excellent choice. Their thick, stretchy formula makes it easy to create sharp, precise lines with minimal effort. Plus, they come in a wide variety of shades, so you’re sure to find the perfect color.
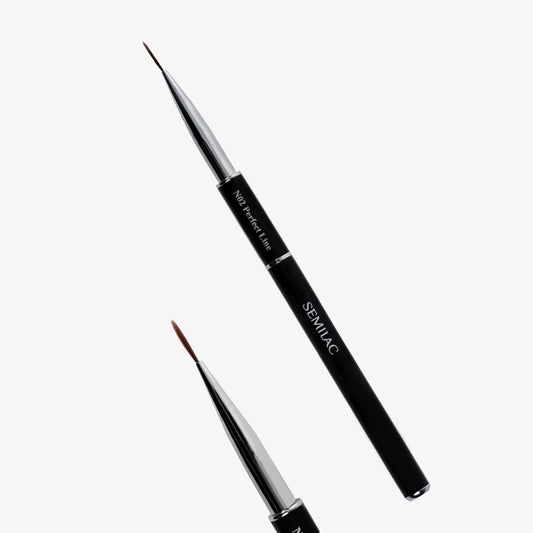
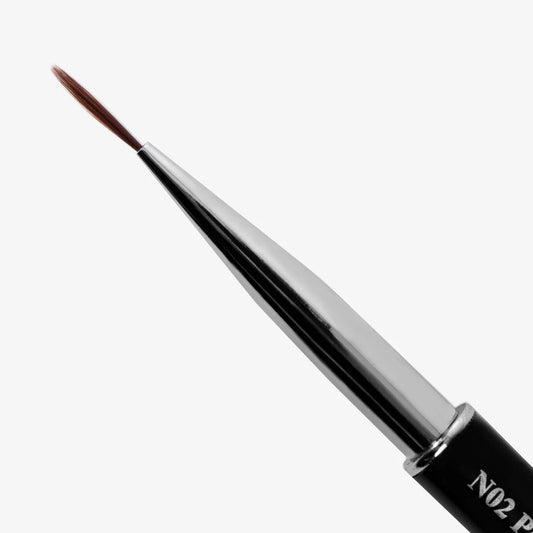
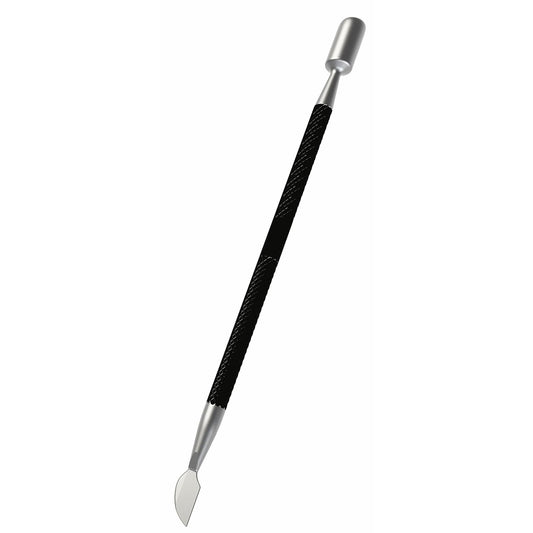
Equally important are the right tools for application. The Semilac Multitool 2in1 is a great option: this dual-ended tool features a small ball tip (ideal for dots and thicker lines) and a fine brush tip (perfect for ultra-thin, detailed stripes).
Step-by-Step: How to Paint Stripes on Gel Nails
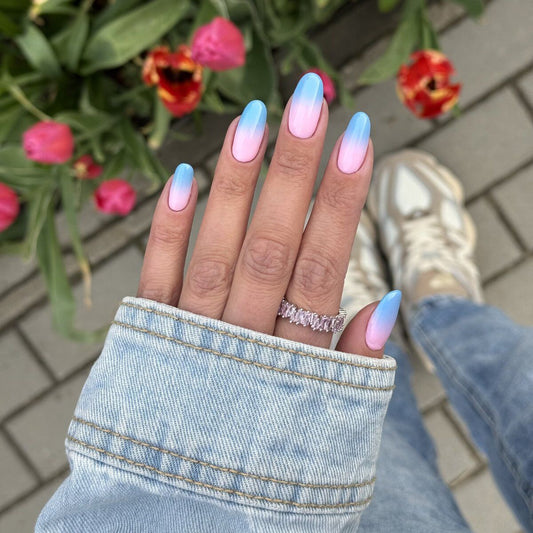
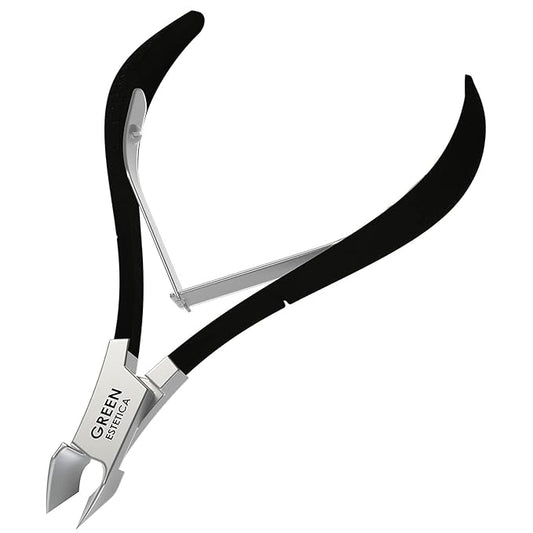
Like any nail art, start by thoroughly prepping your nails and cuticles. Gently push back the cuticles and, if necessary, trim them with cuticle nippers. Shape your nails to the desired length and style, then buff the surface with a nail buffer to smooth out any imperfections and remove oils. Cleanse your nails with a nail cleaner, apply a thin layer of gel base coa and cure it under a UV LED lamp.
Next, apply your chosen gel polish color and cure again. For more opacity, apply a second coat and cure. Now you're ready to start the design!
Dip your brush into a small amount of your line-art product (like a thick gel polish), and in one smooth motion, draw the line from the nail bed to the free edge. If you’re happy with the look, cure it under the lamp. To finish, seal the nail with a top coat for added shine and protection against scratches. Want a 3D effect? Apply the stripes on top of a cured top coat instead.
Simple Nail Art Ideas: Inspiration
Now that you know how to create sleek, simple nail designs, here are a few ideas for eye-catching manicures you can try:
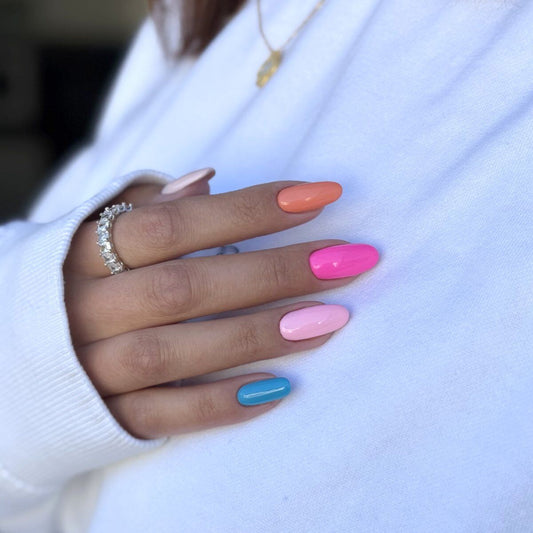
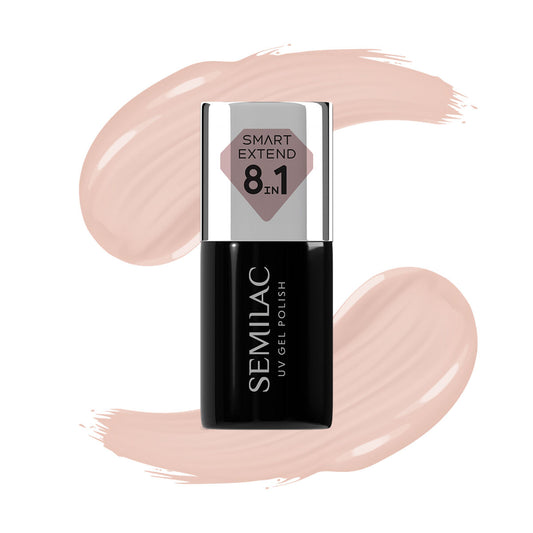
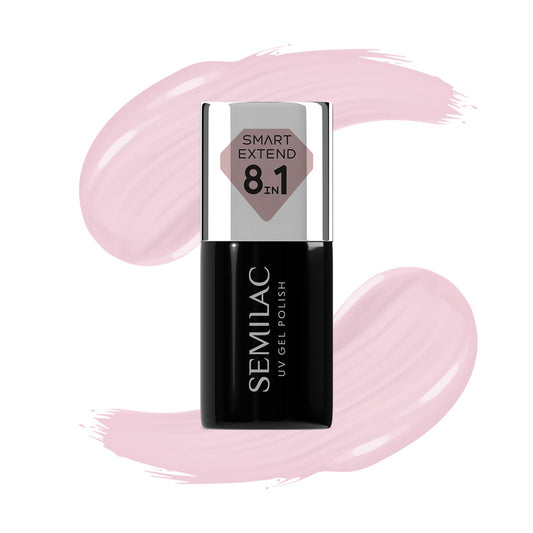
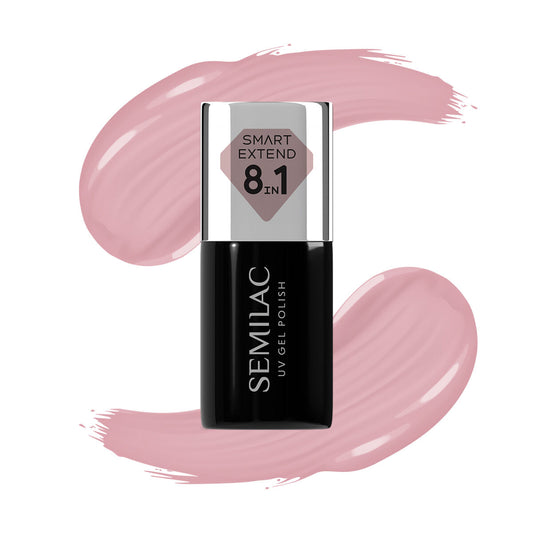
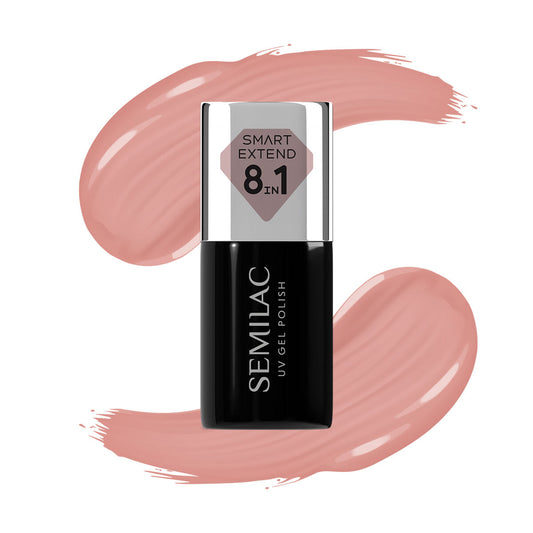
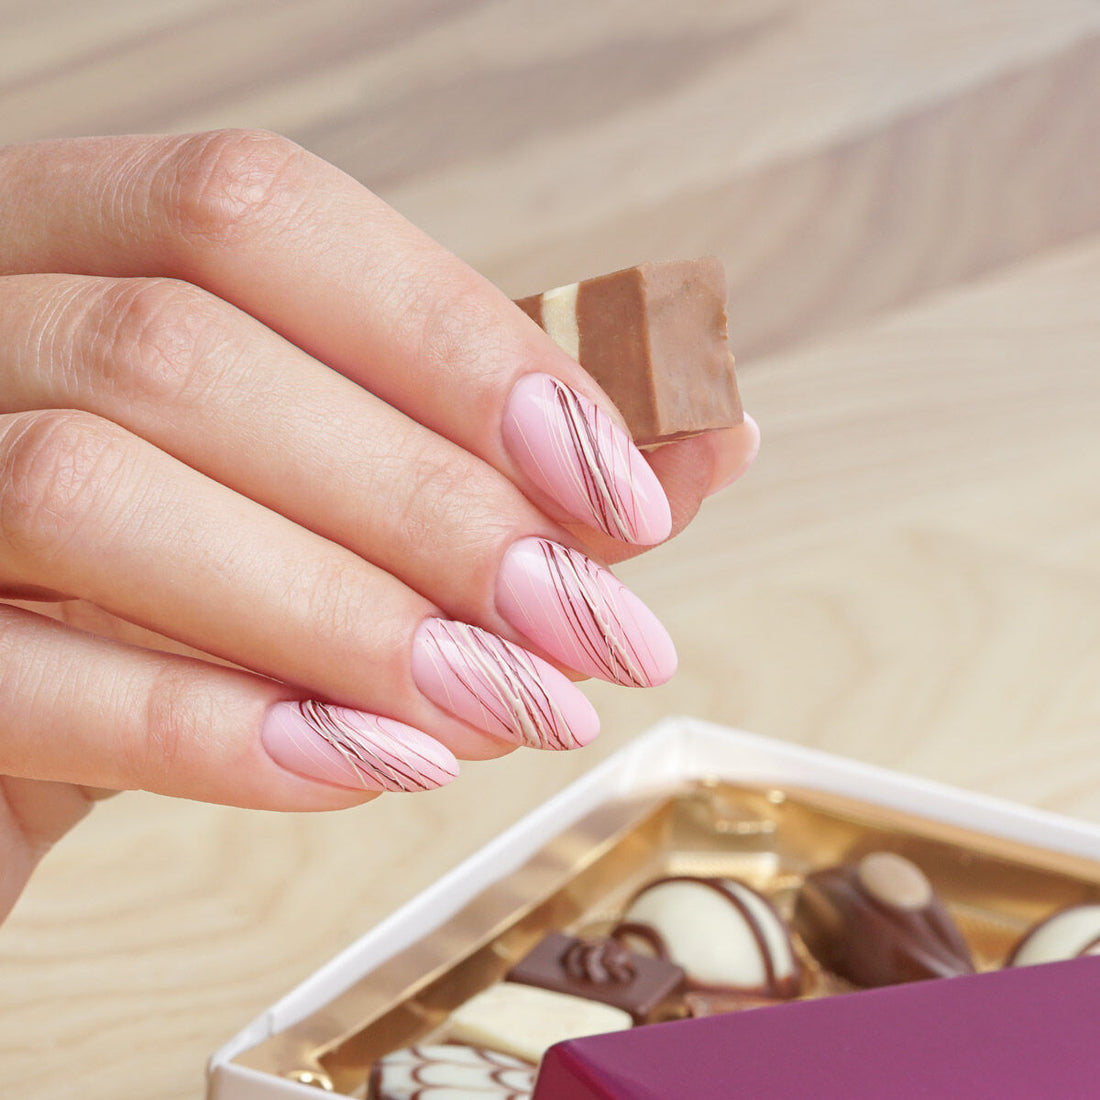
- Minimalist Natural Nails
For a super-subtle look, choose a natural pink or nude shade. Add a delicate design using a slightly darker color on one or two nails. This understated look works beautifully for both everyday wear and special occasions.
- White Manicure with Dark Geometric Stripes
This bold and sophisticated option is perfect for confident manicure lovers looking for something eye-catching yet elegant. Start with a white base, then add a unique stripe pattern to each nail: a single vertical line on one, three thin horizontal lines near the tip on another, diagonal lines on the next. You can also flip the concept and use light stripes on a dark background.
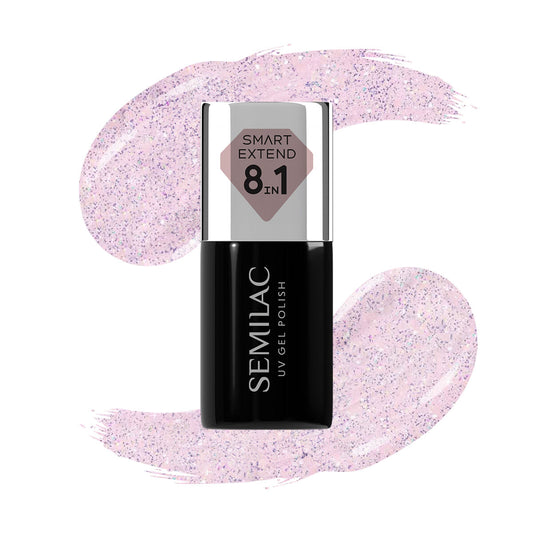
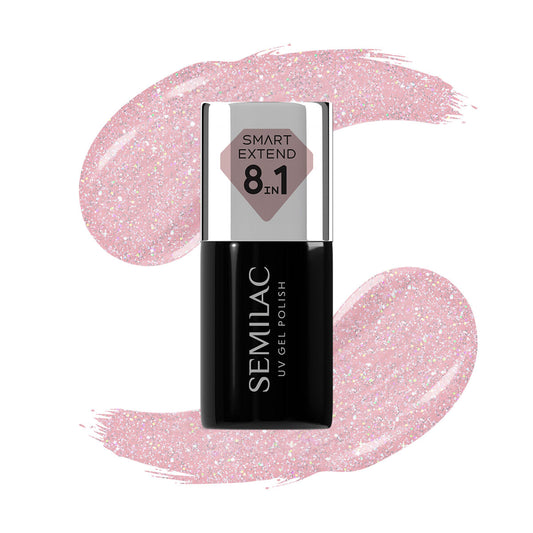
- Party-Ready Look with Glitter and Rhinestones
Planning a night out or special event? Go all out with glitter stripes or rhinestone embellishments. You can keep the look subtle with just one accent nail or glam up multiple fingers. Either way, this design is guaranteed to turn heads!
Conclusion
Striped gel nail art is an absolute must-try! It’s a trendy yet surprisingly simple design that you can easily create at home. With the right tools and a bit of practice, you can experiment with various products and color combinations on nails of all lengths and shapes. Use these ideas as a jumping-off point to craft your own signature looks you’ll come back to time and time again!
FAQ
1. What are the two main types of stripes that can visually change the appearance of your nails?
Stripes can be painted vertically or horizontally. Vertical stripes elongate and slim the nail plate, making them ideal for short or wide nails. Horizontal stripes, however, can visually widen very narrow nails.
2. What products and tools are recommended for creating perfect stripes on gel nails?
For flawless line work, use thick design gels, which provide great control and definition. Pair them with a precision tool such as the Semilac Multitool 2in1, which includes both a fine brush and a dotting tool for versatile nail art applications.


No comments
0 comments