


Common acrylic gel mistakes and how to avoid them

Master professional acrylic gel techniques with confidence! Acrylic gel combines the best of both worlds - the strength of acrylic with the workability of gel systems, offering unlimited working time before curing. However, even experienced nail technicians can encounter challenges when working with this innovative product. Understanding the most common mistakes and learning prevention strategies ensures consistently beautiful, long-lasting results that keep clients satisfied and coming back for more professional services.
Understanding acrylic gel properties
Acrylic gel represents a revolutionary advancement in nail enhancement technology, offering unique characteristics that set it apart from traditional gel and acrylic systems. This thick, non-self-leveling gel requires UV/LED curing but provides unlimited working time before light exposure, eliminating the time pressure associated with traditional acrylic applications. The product's firm yet flexible finish makes it ideal for nail extensions, overlay strengthening, and problem nail solutions that require both durability and natural movement.
Professional success with acrylic gel depends on understanding its unique handling properties. Unlike regular gel polish that self-levels, acrylic gel maintains its placed shape until deliberately manipulated, allowing for precise control over nail architecture and design elements. This characteristic makes it perfect for creating structured extensions, repairing damaged nails, and building custom nail shapes that would be difficult with other product types.
Critical preparation errors
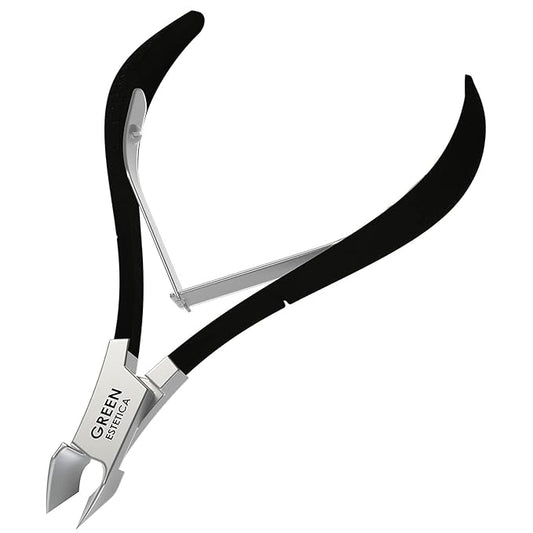
The foundation of successful acrylic gel application lies in meticulous nail preparation, yet this crucial step is often rushed or inadequately performed. Proper preparation requires complete removal of all cuticle tissue, thorough nail plate dehydration, and perfect surface smoothness. Any oils, debris, or rough areas will compromise adhesion and lead to lifting, chipping, or premature service failure. Professional preparation includes pushing back cuticles, removing excess skin, and buffing the nail plate until no natural shine remains.
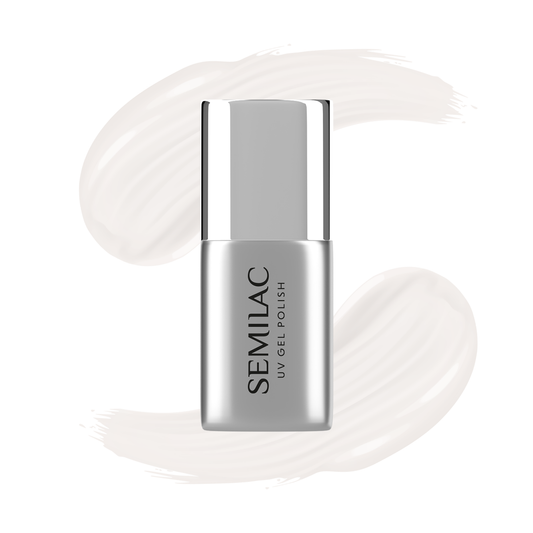
Base coat application represents another critical preparation step that cannot be skipped or substituted. Quality Care Base Semilac creates the essential chemical bond between natural keratin and acrylic gel while providing additional nail strengthening benefits. The base should be applied in thin, even layers and completely cured before acrylic gel application begins.
Common preparation mistakes include:
- Incomplete cuticle removal leaving debris that prevents proper adhesion
- Insufficient nail plate buffing that leaves natural oils on the surface
- Skipping or inadequately applying base coat products
- Working on contaminated or improperly cleaned nail surfaces
- Rushing preparation steps to save time during busy service periods
Application technique problems
Product control separates amateur from professional acrylic gel applications. Thick layers create air bubbles, incomplete curing, and unnatural bulk that increases structural failure risk. Professional technique involves building coverage gradually through multiple thin applications, ensuring complete curing between layers while maintaining natural nail contours throughout the process.
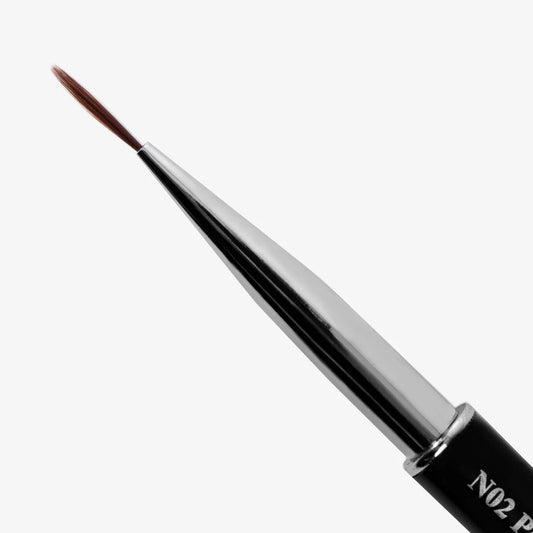
Tool management requires specific techniques that many professionals overlook. Acrylic gel's thick consistency demands properly conditioned tools throughout the service period. Brushes must be consistently moistened with appropriate liquids to prevent product adhesion and maintain smooth manipulation. Clean tools frequently to avoid buildup that interferes with precision work.
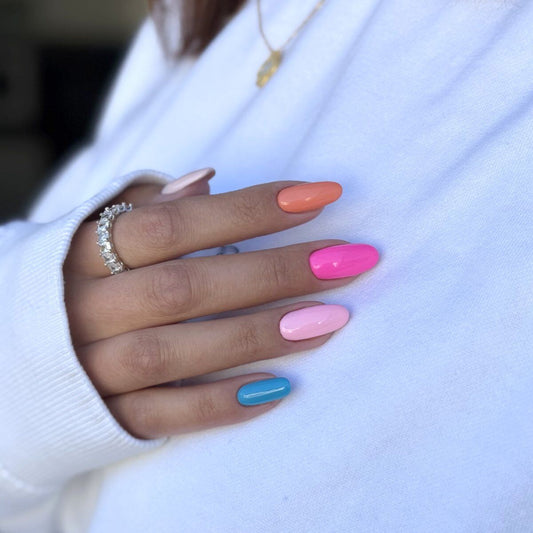
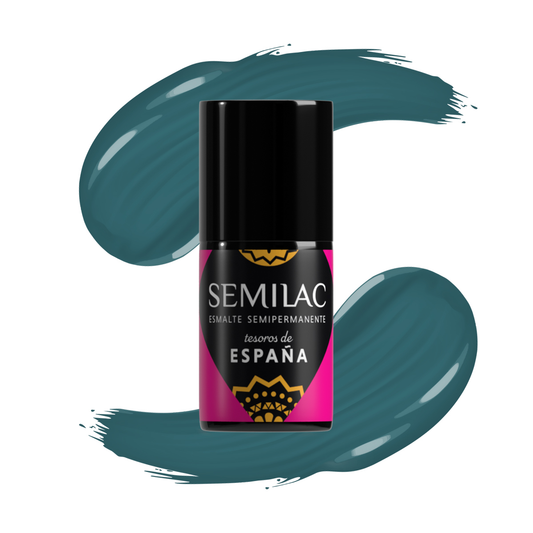
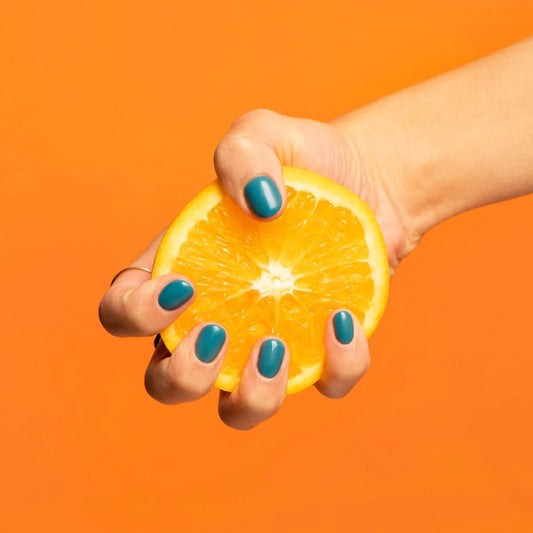
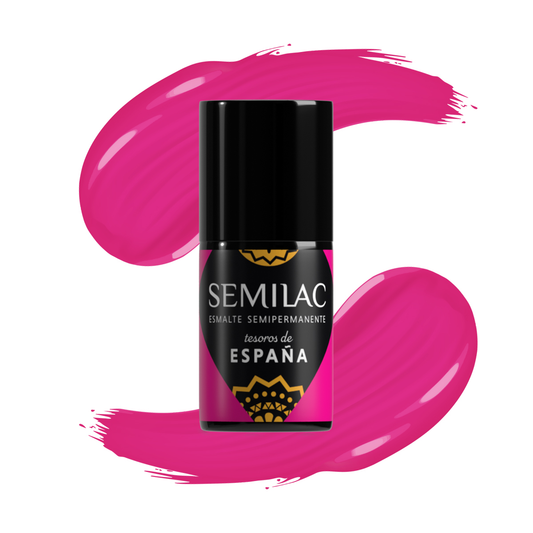
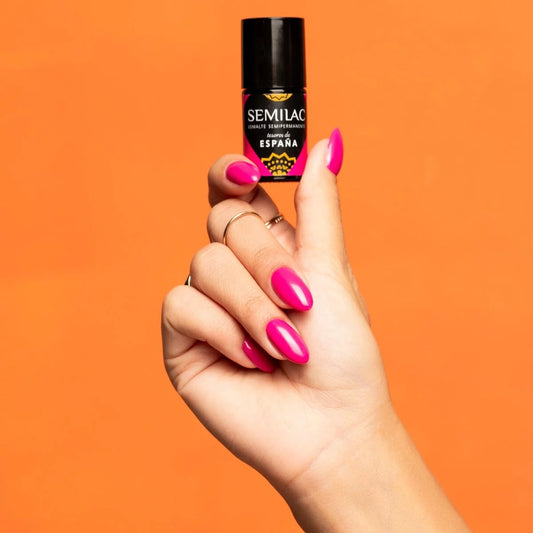
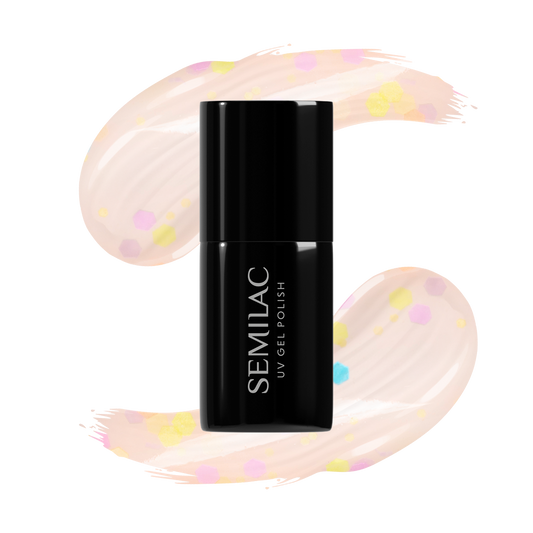
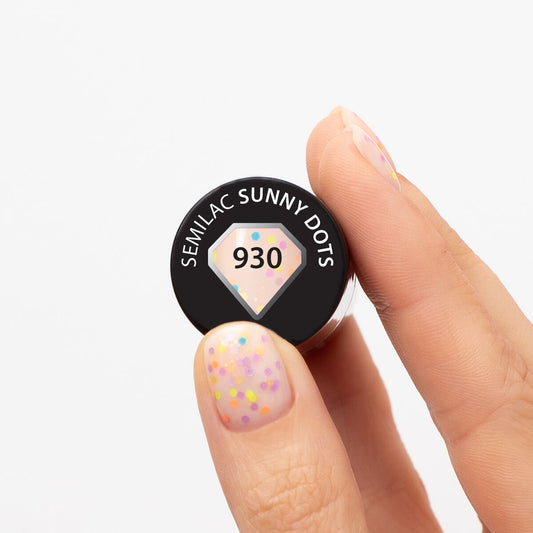
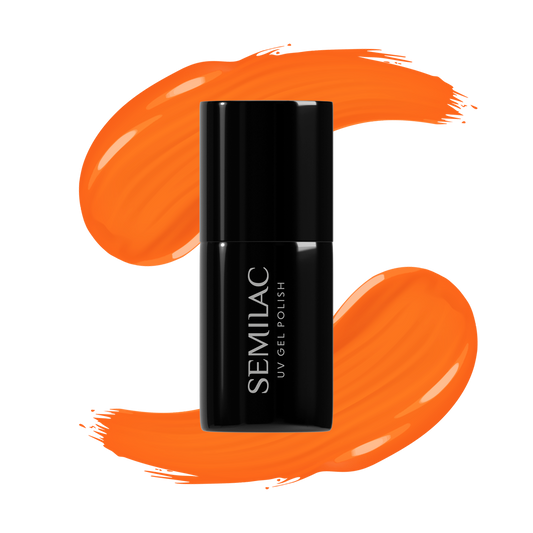
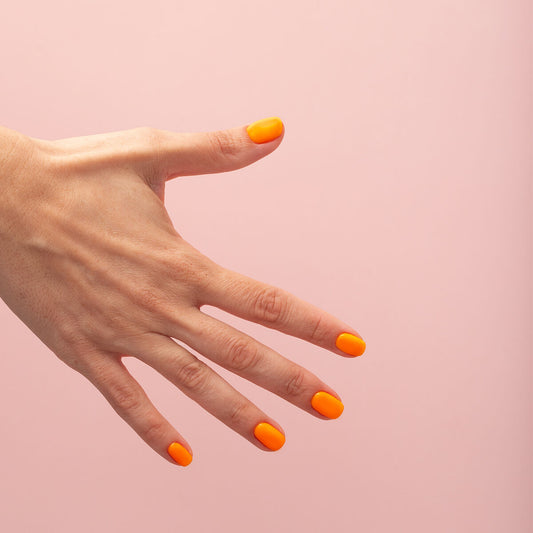
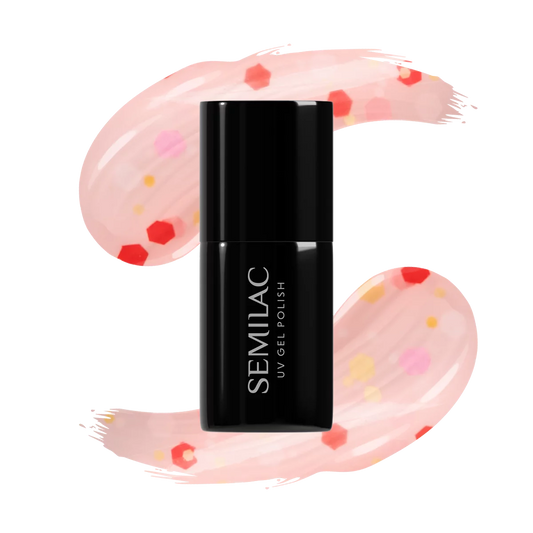
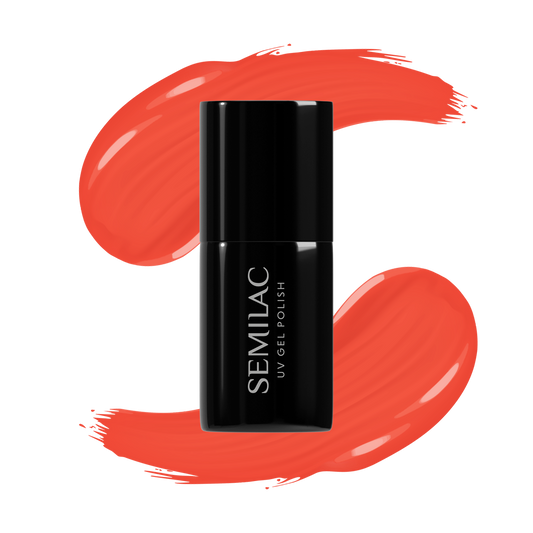
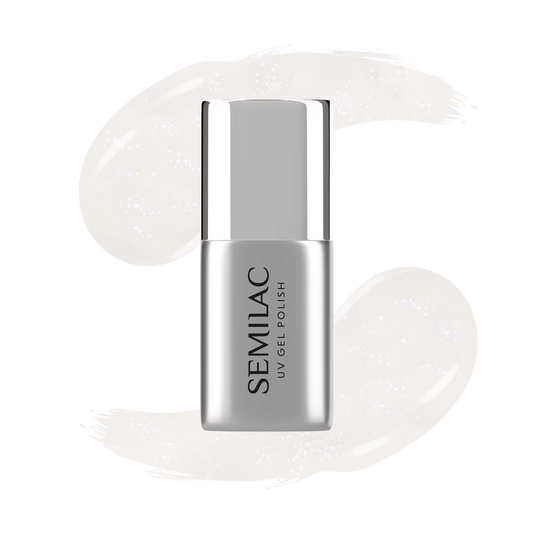
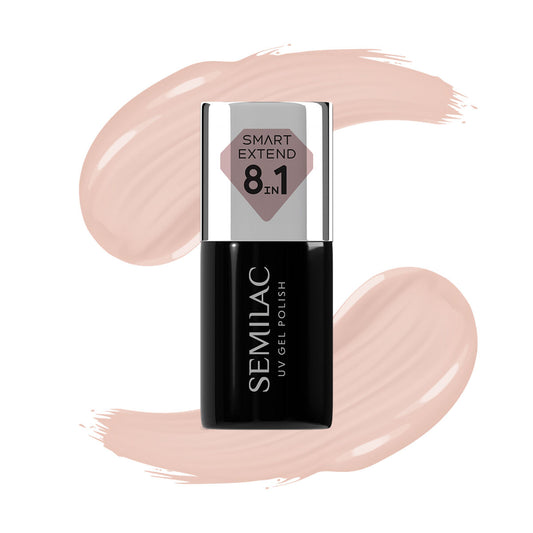
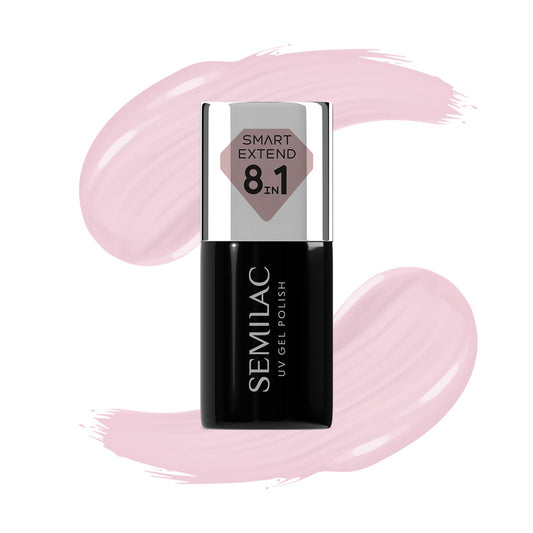
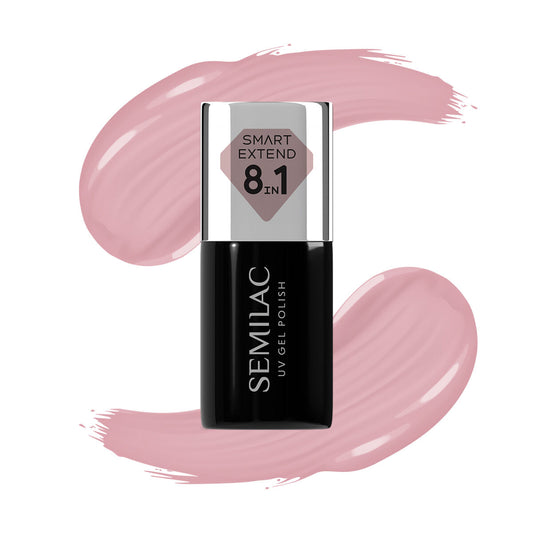
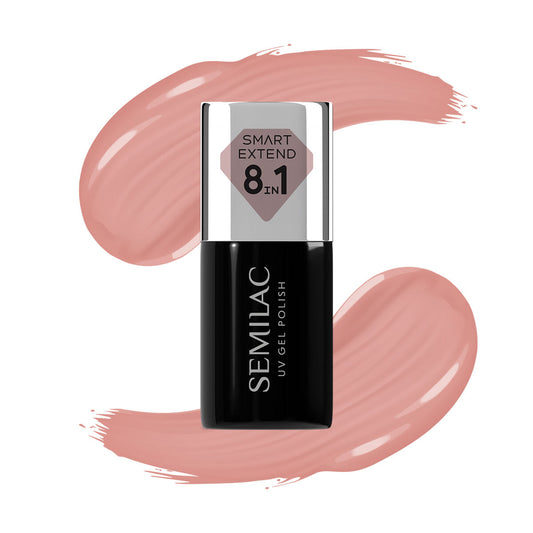
Color selection offers creative opportunities while serving practical purposes. 256 Pale Beige provides perfect skin-tone matching with warm undertones, while S205 Purple Beige offers sophisticated elegance with subtle purple hints. 332 Pink My Dust delivers warm pink tones with shimmer elements for glamorous yet professional results.
Curing and finishing mistakes
Inadequate curing represents a critical error that undermines acrylic gel's strength potential and results in soft, flexible applications that fail prematurely. Professional curing requires appropriate lamp wattage, full manufacturer-recommended exposure times, and even light distribution across all treated areas. Most acrylic gel formulations require 60-second cure times under quality LED lamps, with some products needing longer exposure for complete polymerization.
Over-aggressive finishing techniques can compromise cured acrylic gel integrity and create weak spots that invite damage. Heavy filing removes protective surface layers and can generate excessive heat that affects product structure. Professional finishing requires appropriate nail files 100/180 with correct grit progression, starting with coarser grits for shaping and advancing to finer grits for smoothing and perfecting surface quality.
Essential finishing guidelines include:
- Use appropriate lamp wattage and follow manufacturer curing recommendations
- Test cure completion before proceeding to finishing steps
- File with light, consistent pressure to avoid heat buildup
- Progress through grit stages systematically for optimal surface quality
- Check nail temperature regularly during finishing to prevent overheating
Professional prevention strategies
Successful acrylic gel services require consistent attention to product quality, storage conditions, and equipment maintenance. Proper storage maintains working properties and ensures reliable results with every application. Products should remain sealed when not in use, stored at appropriate temperatures, and replaced according to manufacturer guidelines to prevent issues with aged or contaminated materials.
Client education plays a crucial role in maximizing service longevity and building lasting professional relationships. Proper aftercare instructions help clients maintain their investment while preventing behaviors that could compromise service integrity. Education topics should include appropriate nail care practices, activity modifications during the first 24-48 hours after service, and recognition of situations requiring professional attention.
Removal and nail health
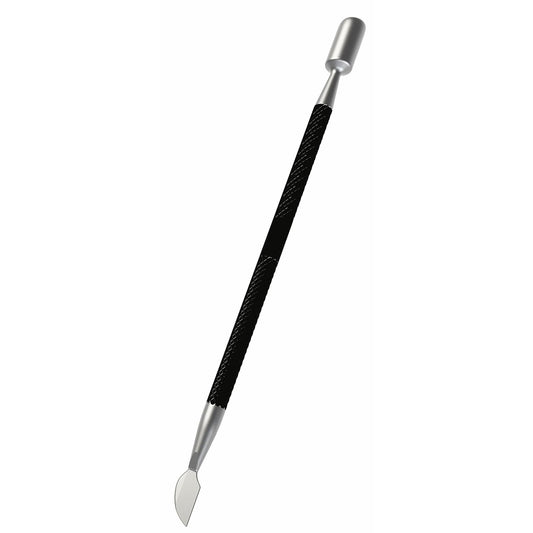
Proper removal techniques protect natural nail health while demonstrating professional expertise that encourages future service bookings. Safe acrylic gel removal involves careful product reduction using appropriate tools and techniques that minimize natural nail trauma. Professional removal typically combines careful filing with gentle buffing, avoiding aggressive methods that can damage underlying nail structure.
Post-removal nail care helps restore natural nail health and prepares nails for future services. Appropriate conditioning treatments, cuticle care, and protective products support nail recovery while maintaining client satisfaction between service appointments. Professional guidance on home care practices helps clients maintain healthy nails that respond well to future enhancement services.
FAQ:
How thick should acrylic gel applications be?
Apply thin, buildable layers rather than attempting full coverage in single applications. Multiple thin layers cure more completely and create stronger, more natural-looking results.
What causes acrylic gel to lift at the cuticles?
Lifting typically results from incomplete nail preparation, contaminated surfaces, or product application too close to cuticle areas. Proper prep and precise application prevent this common issue.
Can acrylic gel be applied over damaged nails?
Yes, but damaged areas require special attention and may need Fiber Base Semilac for additional reinforcement before acrylic gel application.


No comments
0 comments