


Winter ombre nails - tutorial using Gel UV Hybrid

Winter ombre nails capture that soft, frosty gradient look that feels perfectly seasonal. The Gel UV Hybrid formula makes creating smooth color transitions surprisingly manageable, even for those new to the technique. Unlike summer's bright, contrasting ombres, winter calls for subtle shifts - think misty mornings and snow-dusted landscapes. This tutorial breaks down the process into simple steps that deliver professional-looking gradients without complicated tools or hours of blending time.
Choosing your winter palette
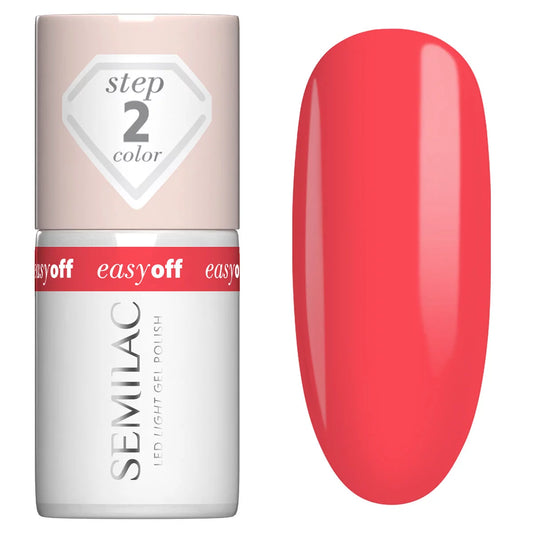
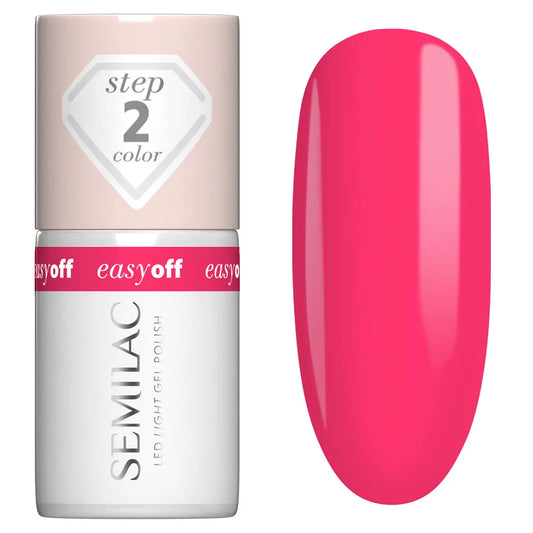
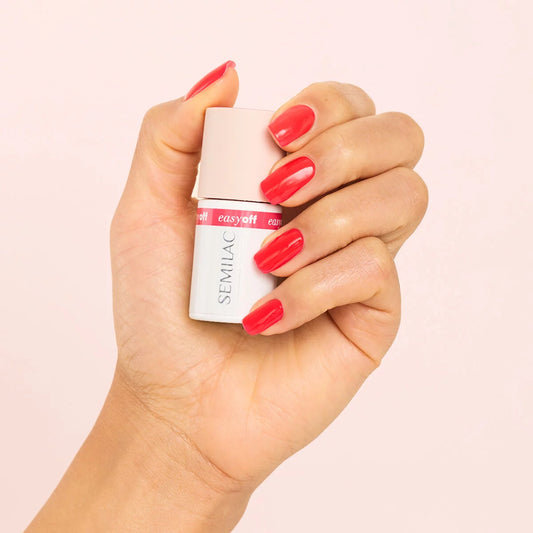
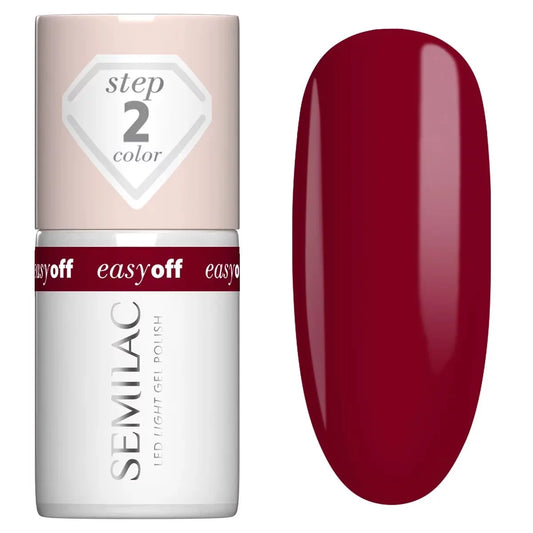
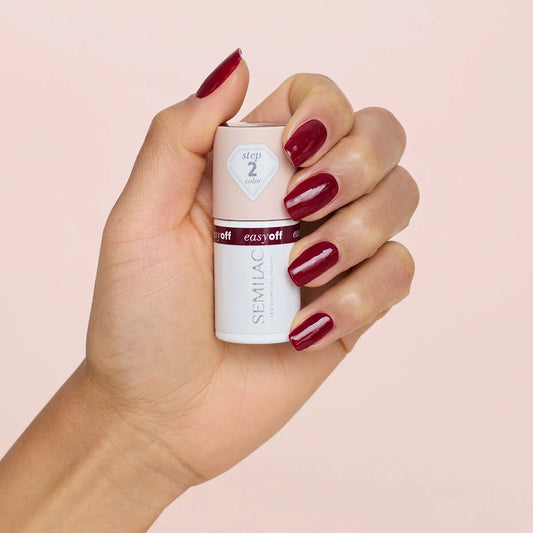
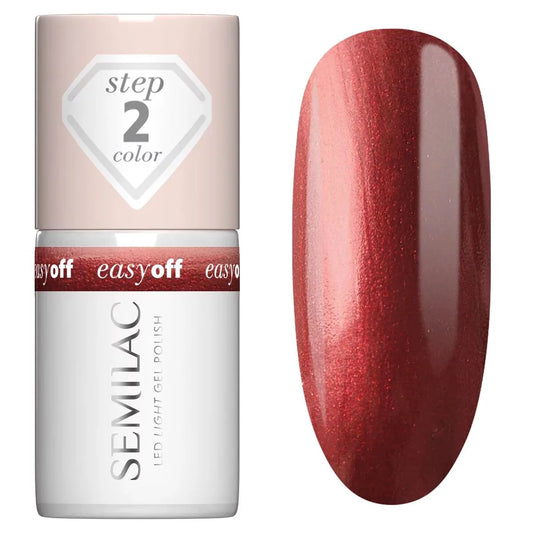
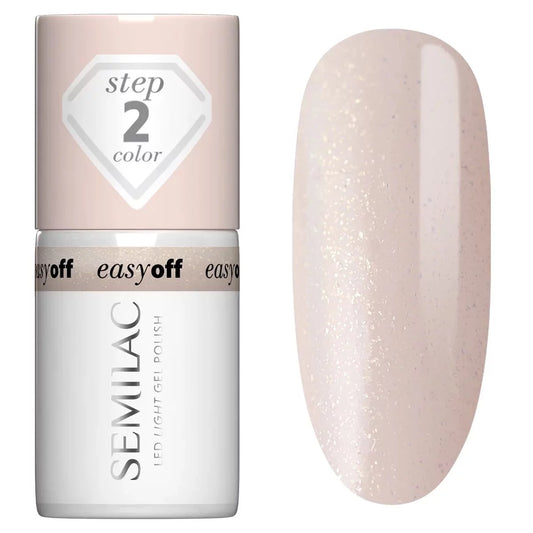
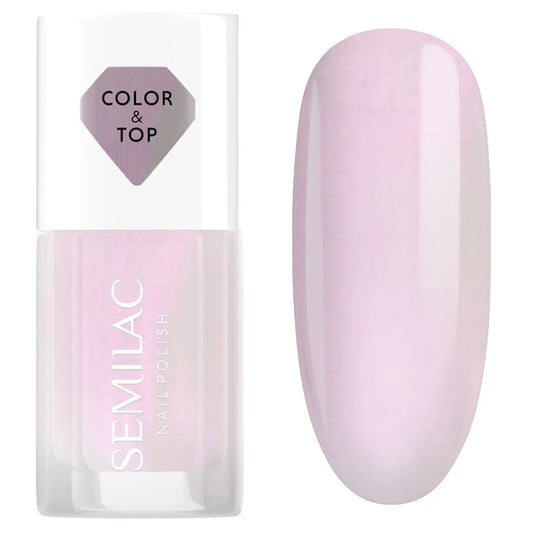
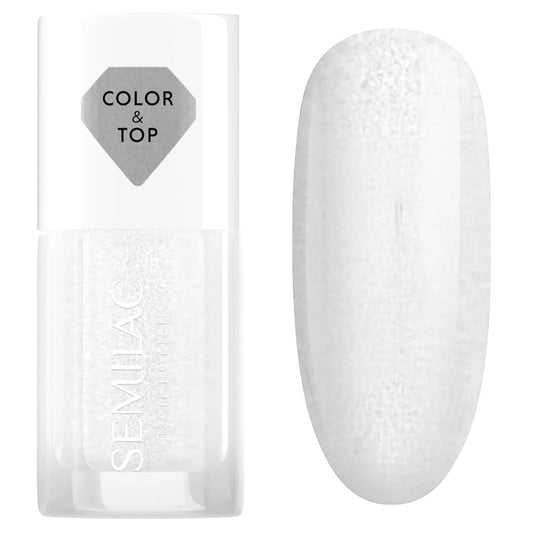
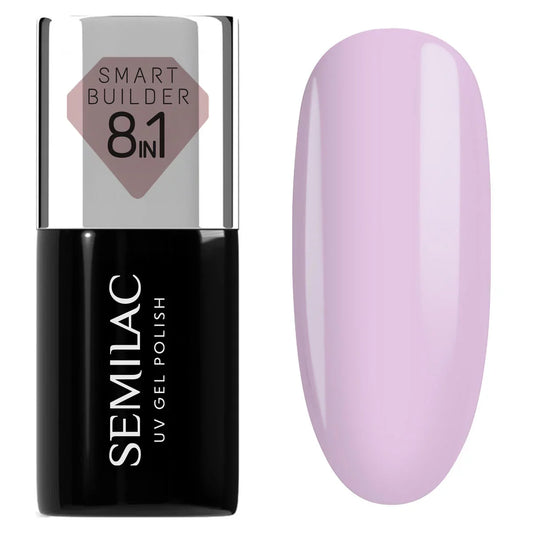
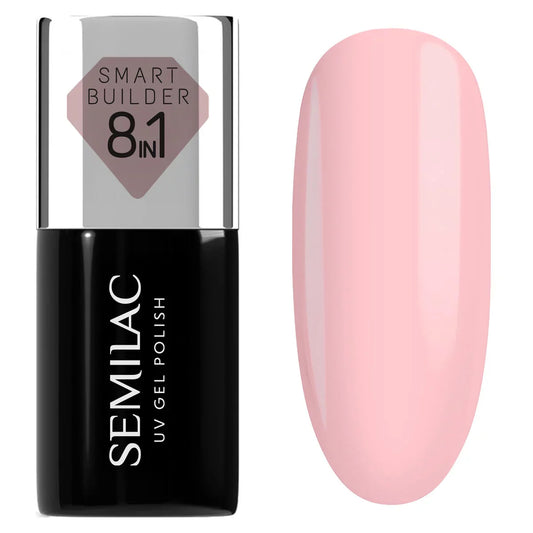
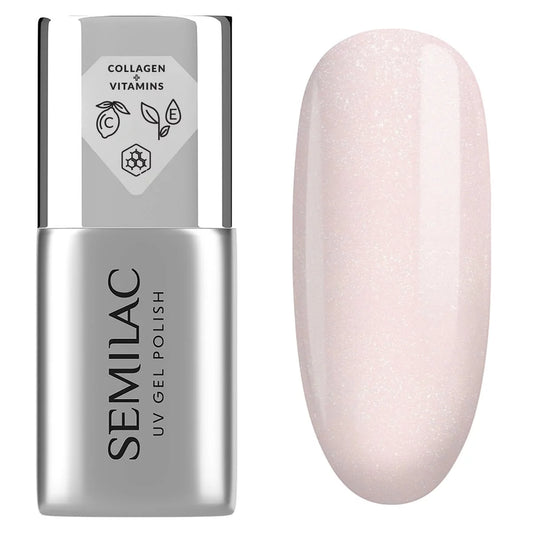
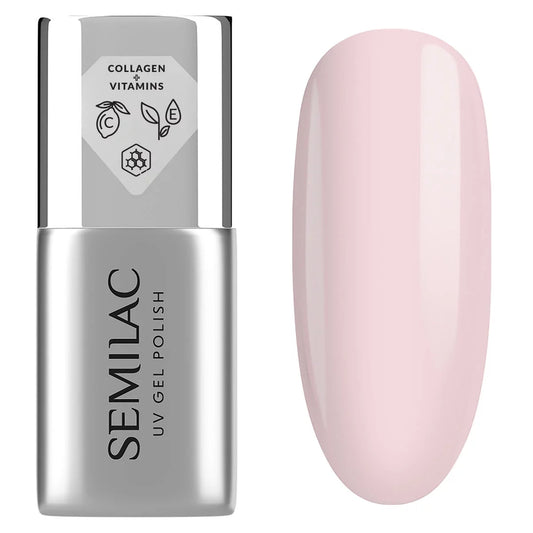
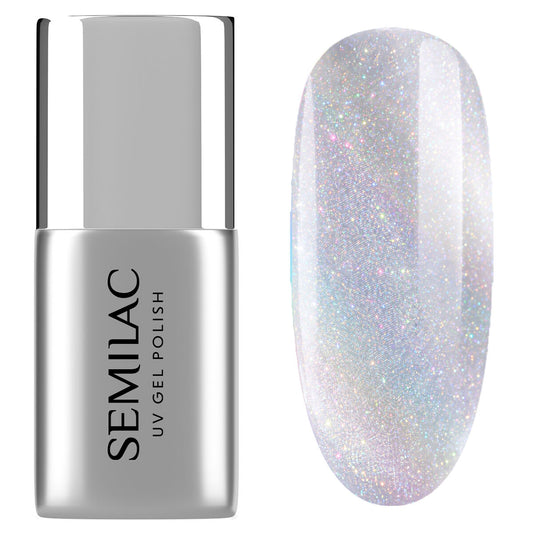
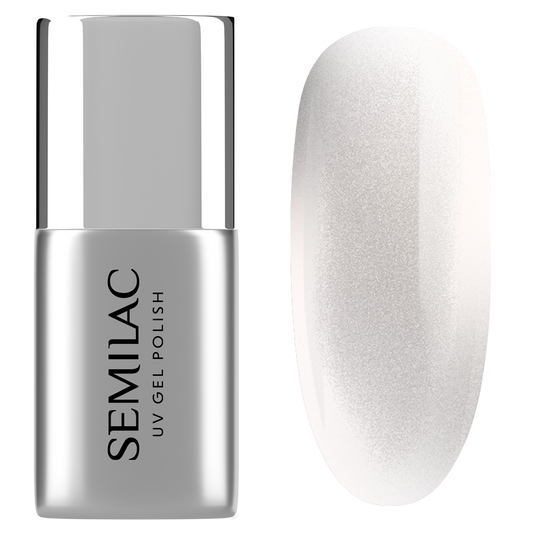
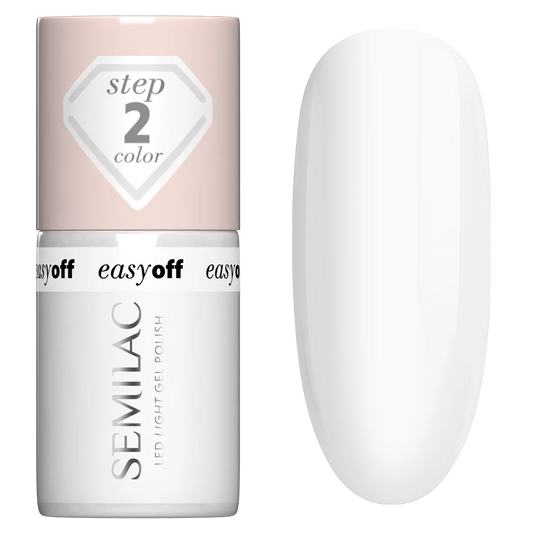
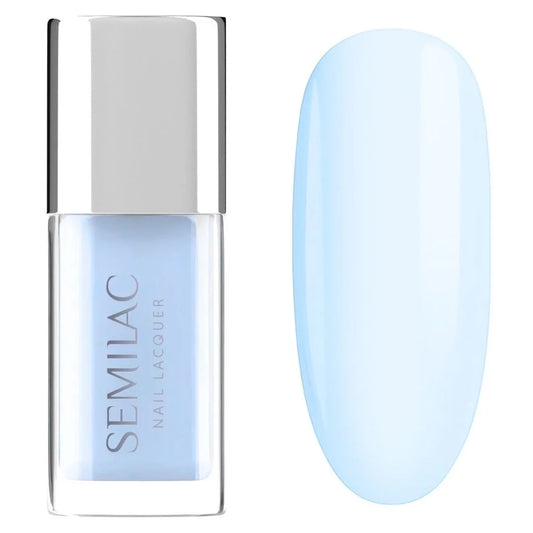
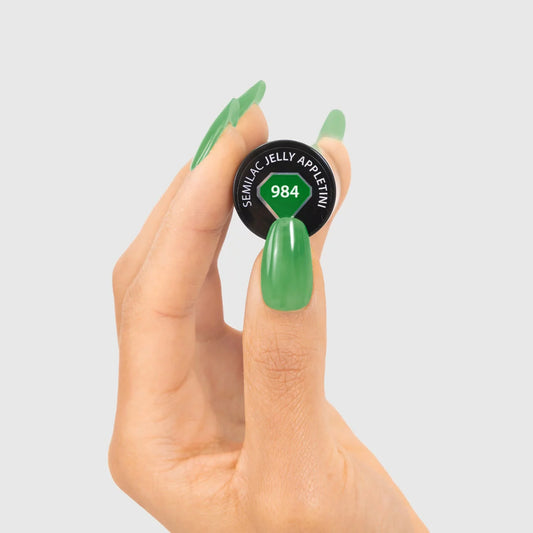
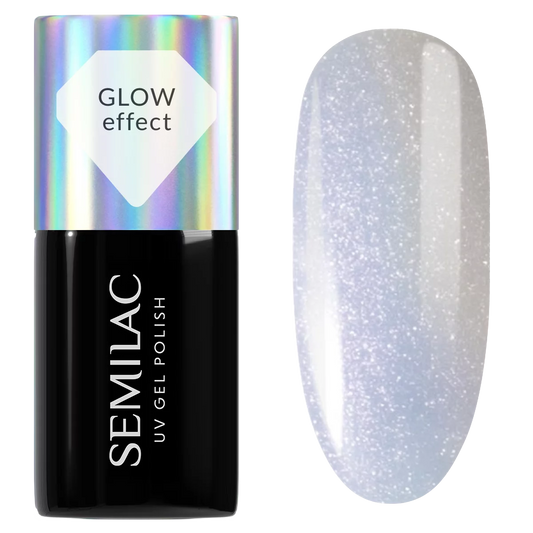
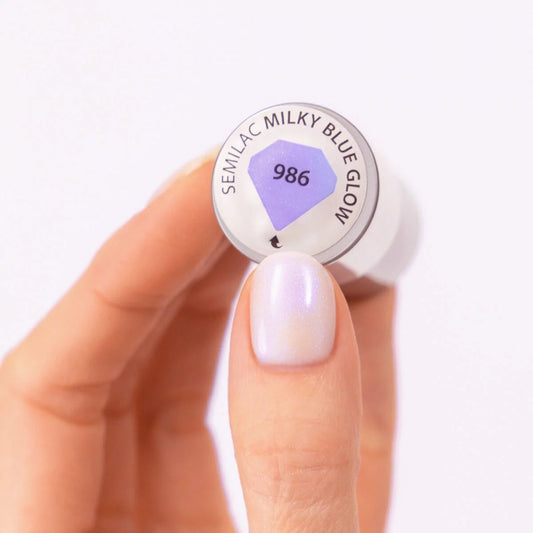
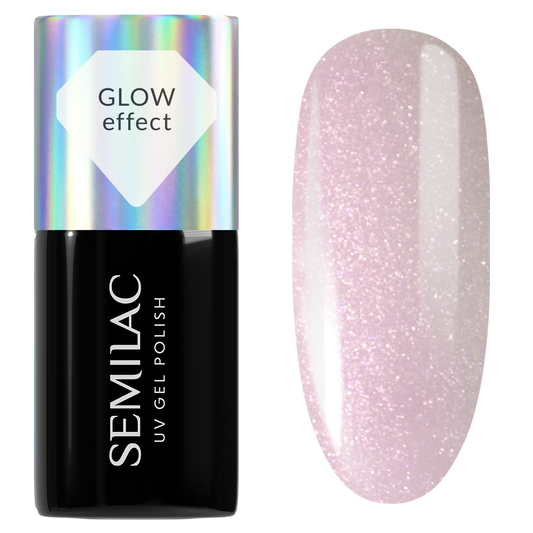
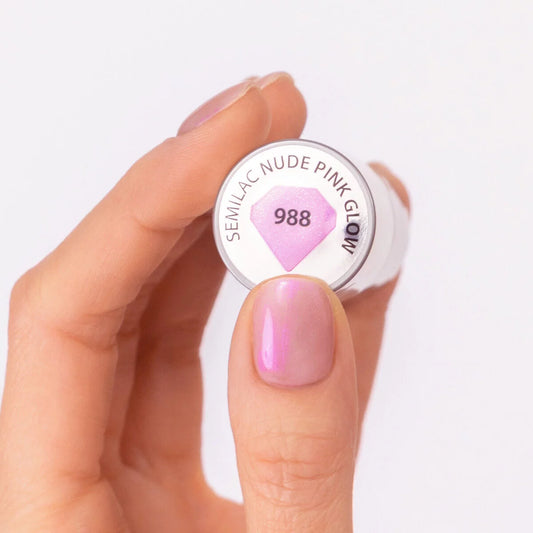
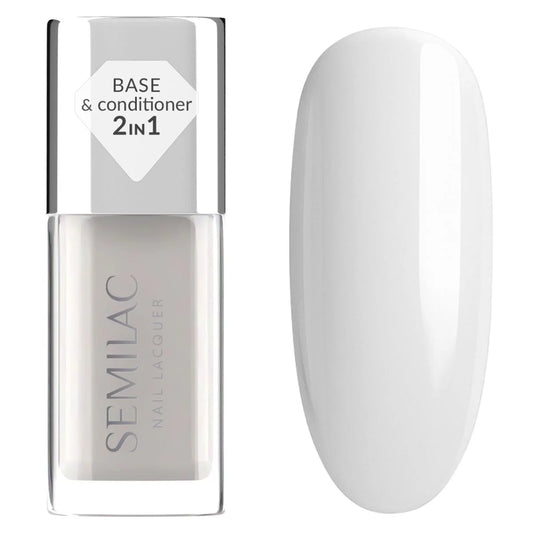
Color selection makes or breaks an ombre design. Start with Milky Dust T32 as your light base - it's that perfect winter white that transitions beautifully into deeper tones. For a romantic winter look, Aphrodite's Kiss A709 creates gorgeous pink-to-nude gradients. Want something richer? 90s Rich 939 delivers that berry-to-cream fade that screams winter sophistication. The key is choosing shades that share undertones - cool with cool, warm with warm.
Preparation sets you up for success
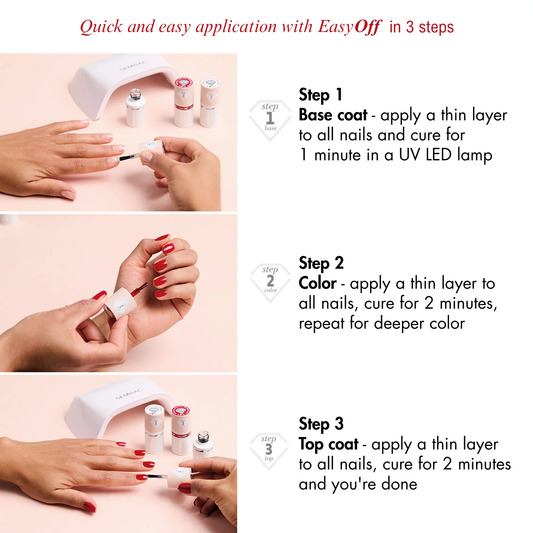
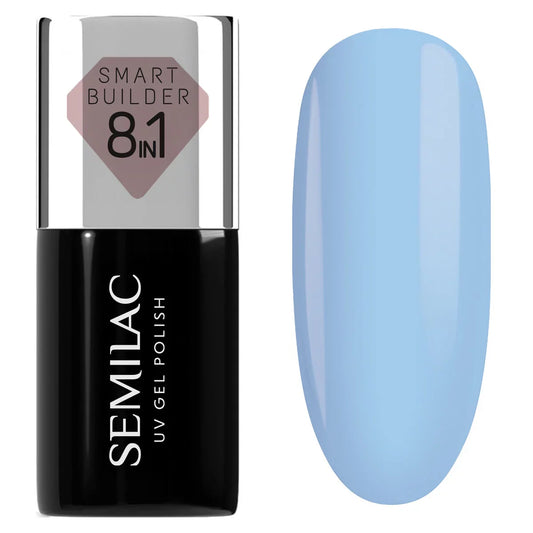
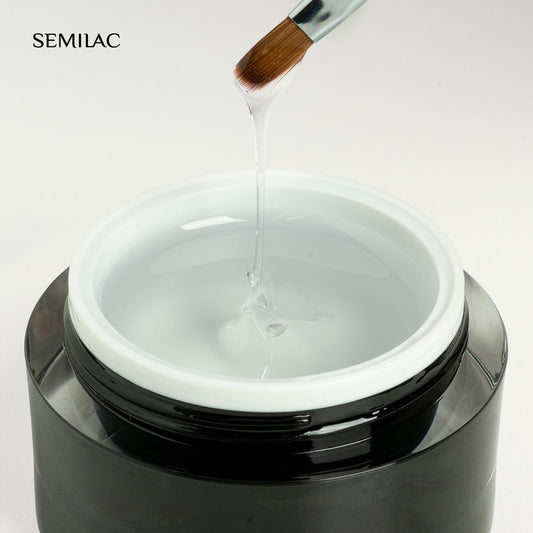
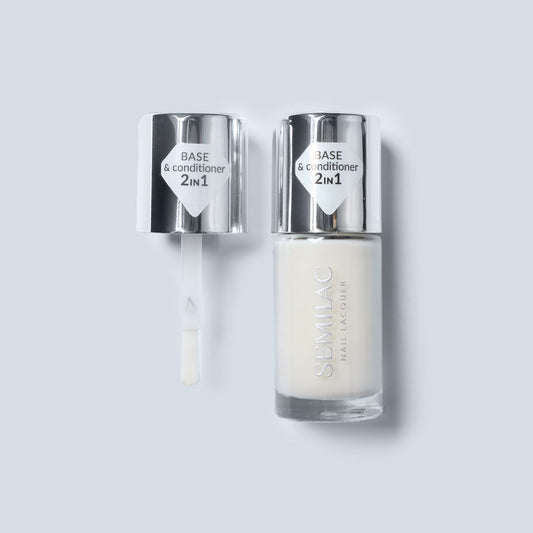
Begin with proper prep and a quality base. Apply Semilac Soak Off Gel base coat thinly and cure completely. This creates the smooth canvas you need for seamless blending. Here's something we've learned through trial - slightly over-prepping the nail surface with gentle buffing actually helps ombre application. The subtle texture gives the polish something to grip, making color transitions blend more naturally during the sponging process.
The sponging technique
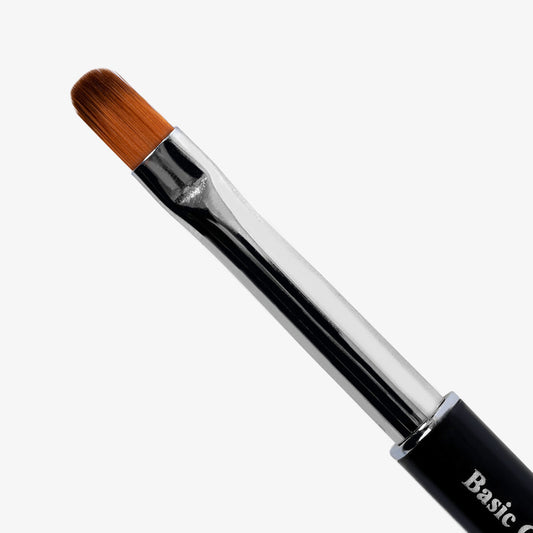
Apply your lighter color (like Milky Dust T32) to the top half of your nail and cure it. Now take a makeup sponge and apply both colors to it - lighter shade on top, darker on bottom, with a small overlap in the middle. Dab the sponge onto your nail with a gentle bouncing motion, building the gradient gradually. Don't press hard - multiple light layers create smoother transitions than one heavy application. This is where Semilac Gel Nail Polish shines - its consistency allows for buildable opacity without becoming muddy or patchy.
Perfecting the blend
The magic happens in the middle section where your colors meet. After your first sponge application, cure it but don't clean up yet. Apply another layer using the same technique, focusing on making that transition zone as seamless as possible. For clients wanting subtler effects, stick to two sponge layers. For more dramatic gradients, build up to three or four. Each layer should be cured separately. The formula's self-leveling properties help smooth out any obvious demarcation lines during curing.
Common challenges and quick fixes
Working with ombre presents specific obstacles that are easy to overcome once you know the tricks:
-
Harsh lines between colors mean you need more overlap on your sponge - create a bigger transition zone
-
Sponge texture showing in the finish happens when pressing too hard - lighter touch prevents this
-
Colors looking muddy indicates incompatible undertones - stick to shades from the same color family
-
Patchy coverage from the sponge means your polish application on the sponge was too thin - load it more generously
-
Cleanup is easier if you apply liquid latex or petroleum jelly around the nail before starting - saves significant time
Sealing the look
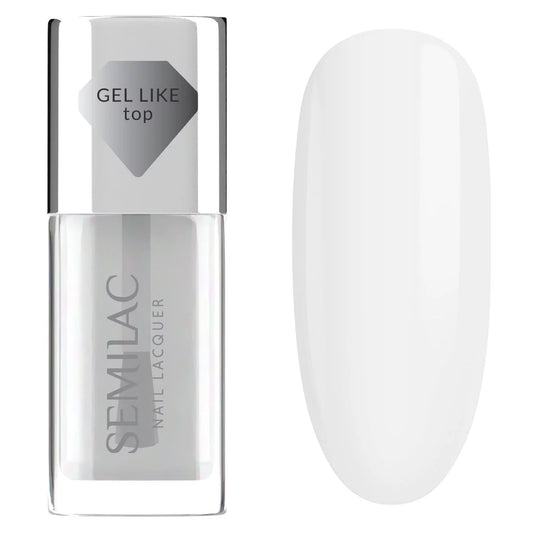
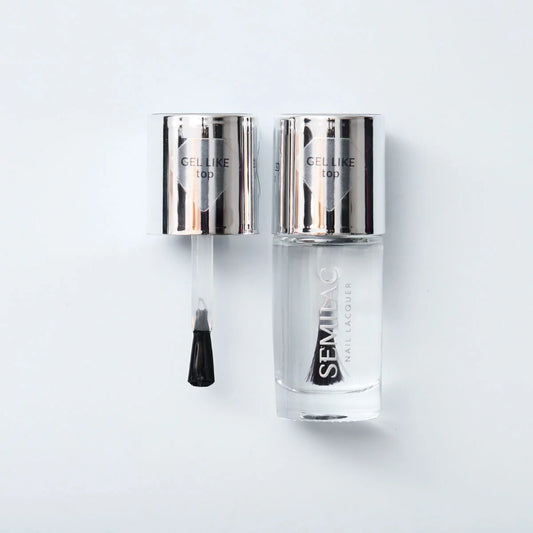
Once your gradient looks perfect, seal it with a Top Get Wet Super Shiny top coat. Apply it carefully to avoid dragging and disrupting your ombre - use a light hand and let the brush glide rather than press. The super shiny finish enhances the gradient effect, making color transitions appear even smoother. Cure fully, clean if needed, and you've got winter ombre nails that look airbrushed. We recommend slightly thicker top coat application on ombre designs - it helps unify the look and adds extra durability.
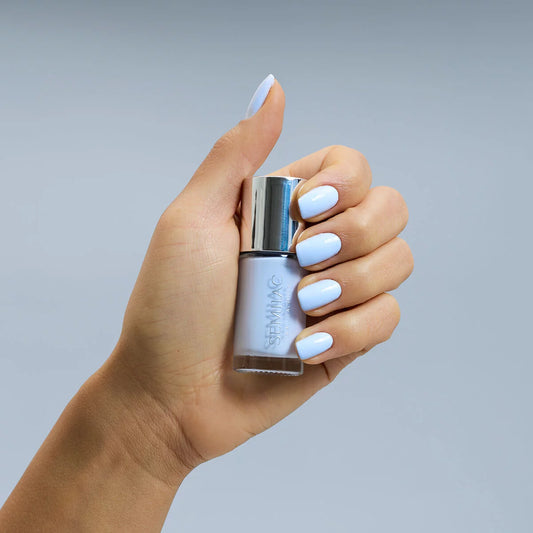
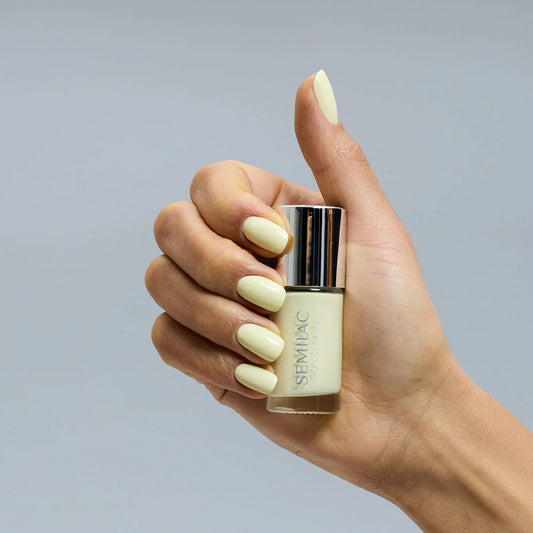
Styling winter ombre
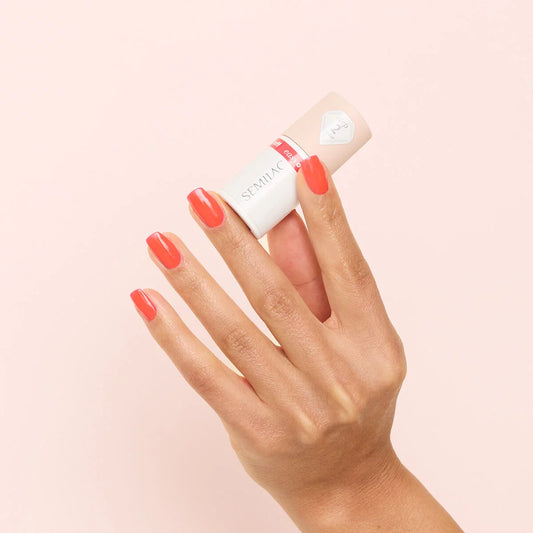
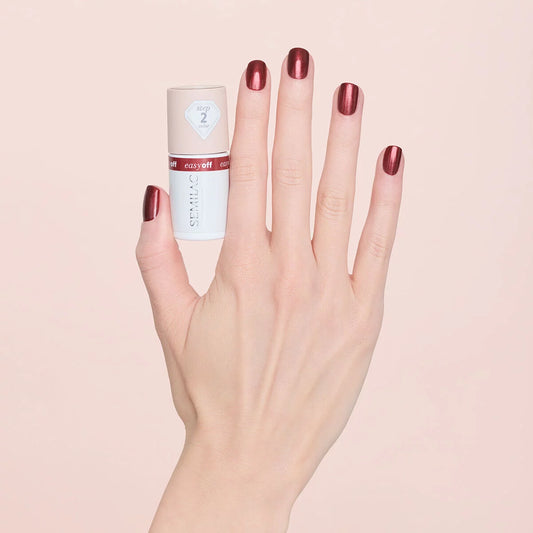
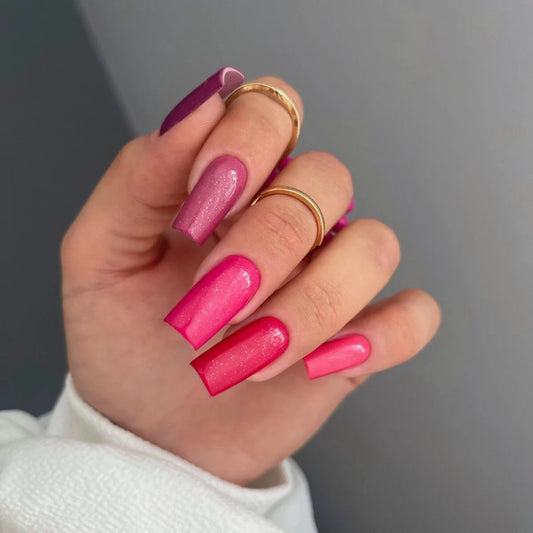
These gradients work beautifully for different occasions and styles. Milky Dust T32 fading into Aphrodite's Kiss A709 delivers that romantic, soft winter aesthetic perfect for weddings and elegant events. The 90s Rich 939 gradient brings drama and depth that photographs gorgeously. Try vertical ombres for elongated nail beds or horizontal for classic style. You can even create diagonal gradients for something unexpected. The technique adapts to your creative vision while staying seasonally appropriate.
Why this technique works
Winter ombre succeeds because it matches the season's aesthetic - soft, blended, nothing too harsh or contrasting. The Hybrid Nail Polish formula's workable consistency and buildable coverage make achieving these subtle transitions realistic, not frustrating. Unlike some nail art that requires steady hands and years of practice, ombre is forgiving. Small imperfections blend into the overall effect rather than standing out as obvious mistakes. That accessibility combined with impressive results explains why this technique stays popular season after season.


No comments
0 comments