


How to properly apply Gel Nail Polish?

Perfect Gel Nail Polish application isn't about luck - it's about technique and understanding how the formula behaves. Small details make the difference between a manicure that lasts three weeks and one that chips in three days. The right approach transforms good results into flawless ones. Ready to master the technique that keeps nails looking freshly done for weeks? Let's get into it!
Prep work that actually matters
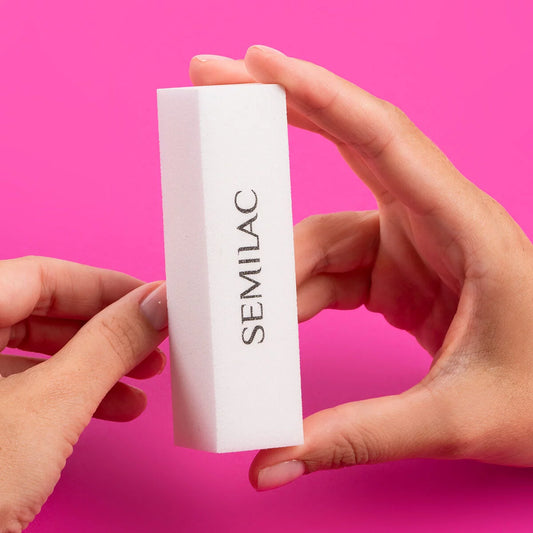
Start with clean, dry nails - any oil or moisture causes lifting. Use Semilac Nail File Harbor Bridge 100/180 to shape nails and lightly buff the surface. This light buffing creates microscopic texture that helps gel adhere properly. Push back cuticles gently but thoroughly - gel touching skin leads to premature peeling. Wipe nails with alcohol or cleanser to remove any remaining oils. This prep stage determines your wear time more than any other step.
Base coat application secrets
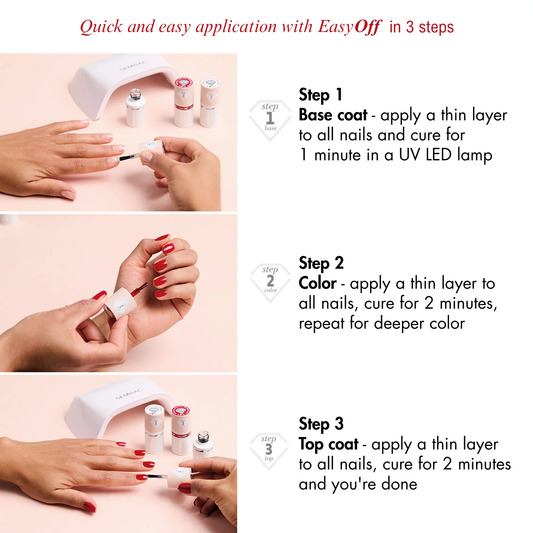
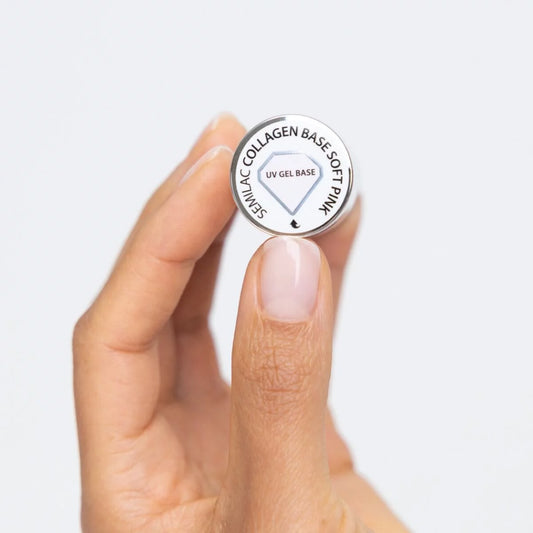
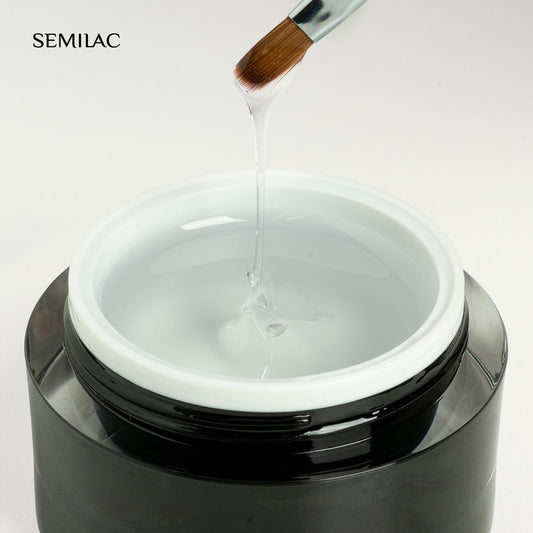
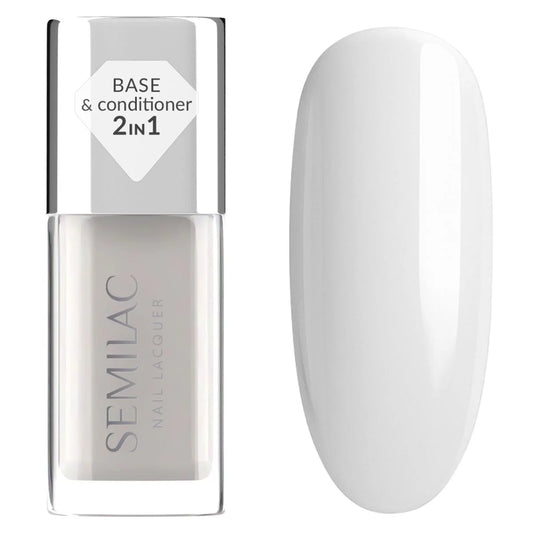
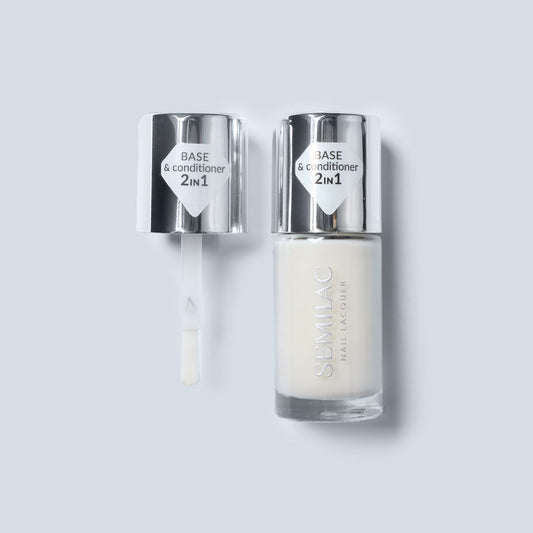
Apply Base Semilac Soak Off Gel in a thin, even layer. Here's the technique that changes everything: cap the free edge first, then apply to the nail surface. This sealing motion prevents water from sneaking under the gel later. Avoid flooding the cuticle area - leave a tiny gap, about the width of a credit card edge. Too much base near the cuticle causes lifting within days. Cure fully according to your lamp specifications, typically 30-60 seconds.
Color application strategy
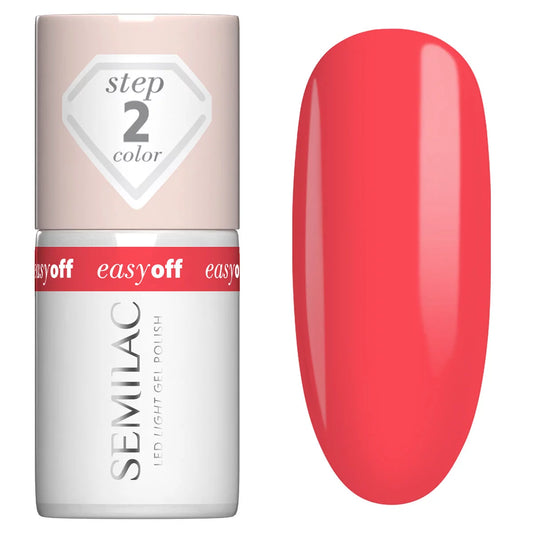
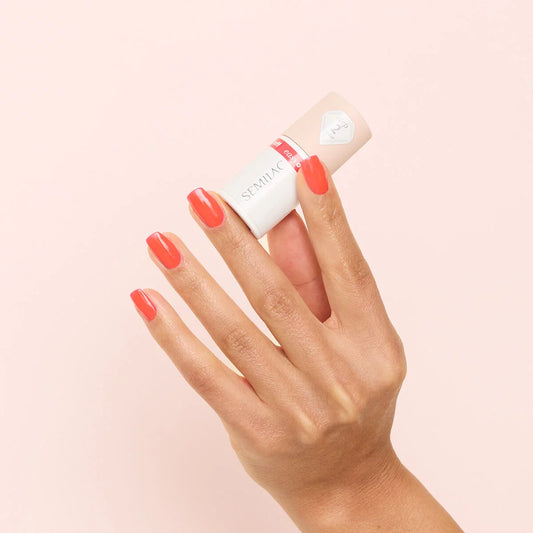
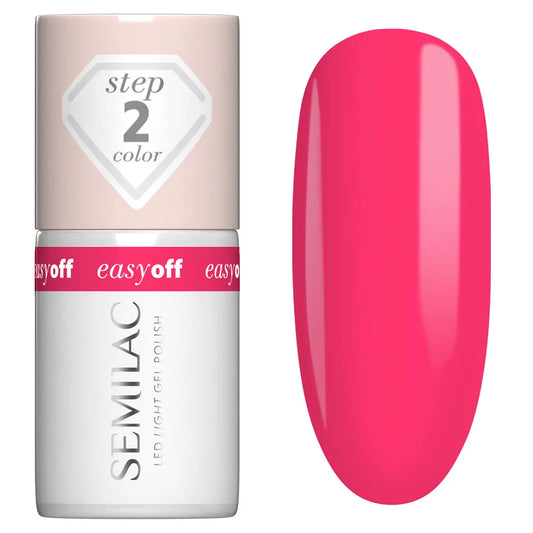
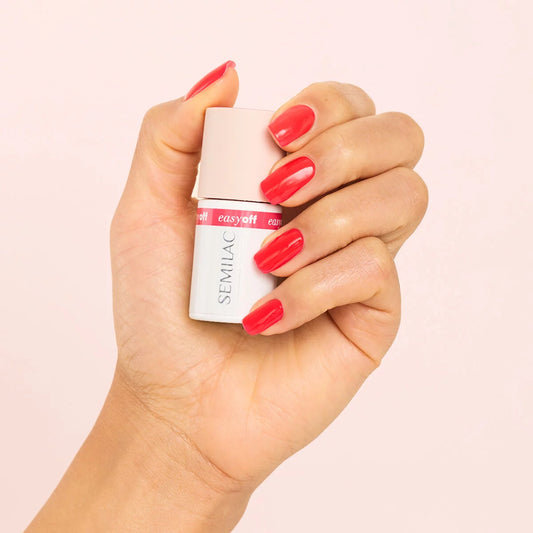
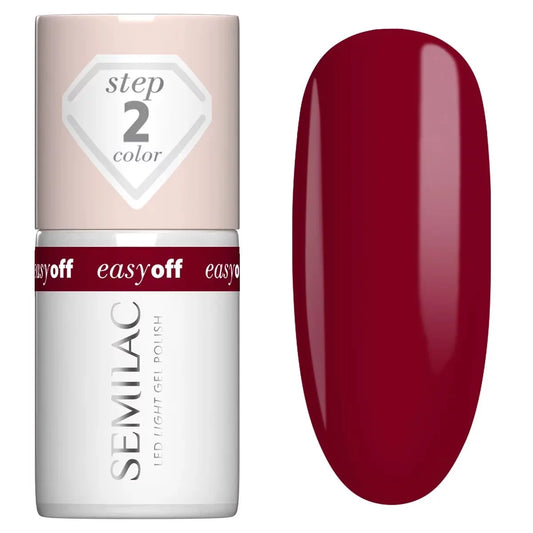
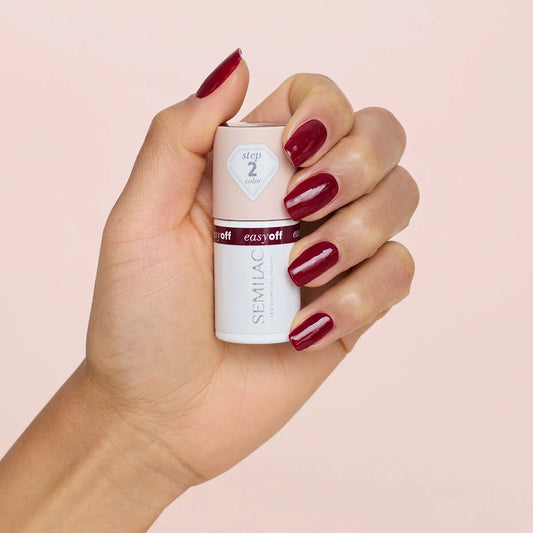
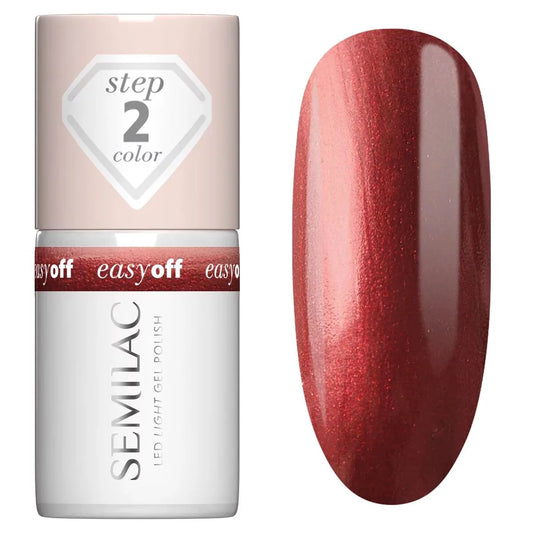
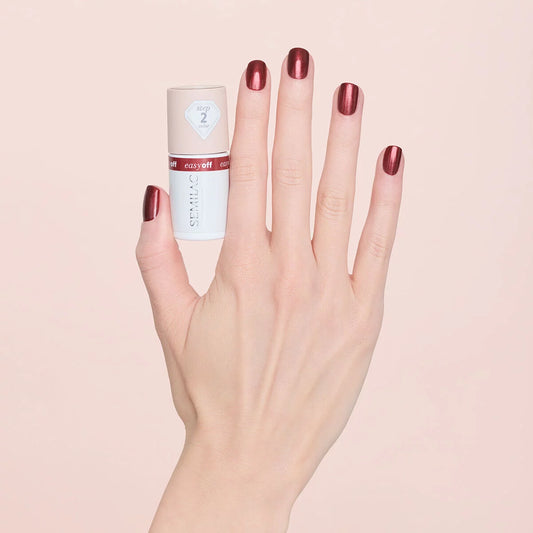
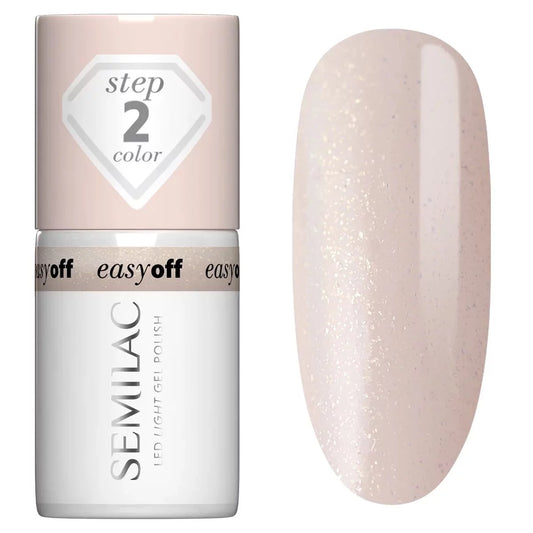
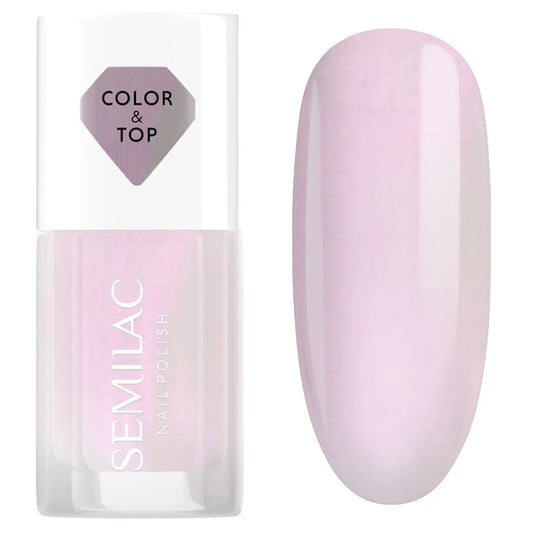
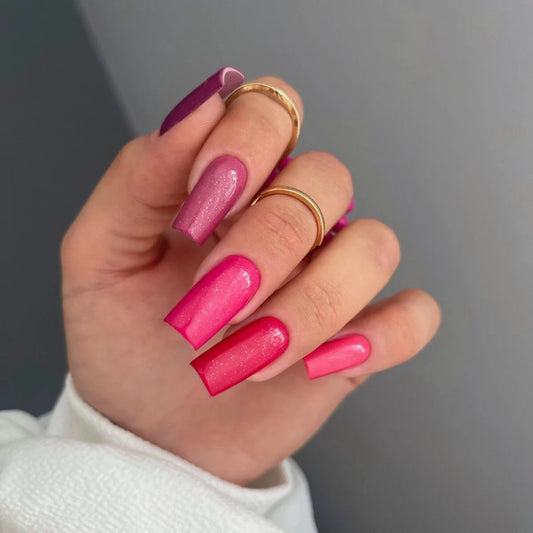
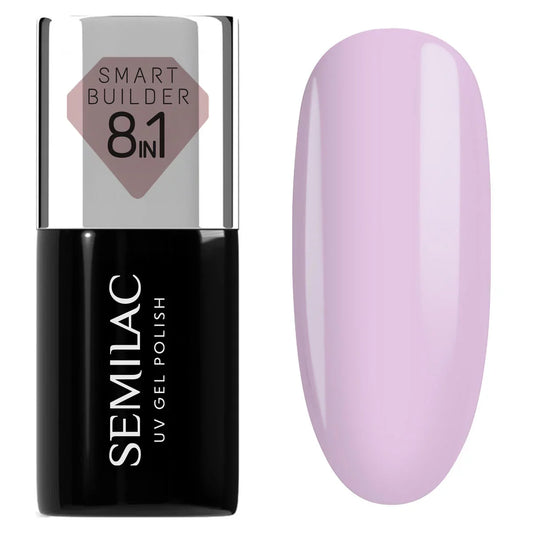
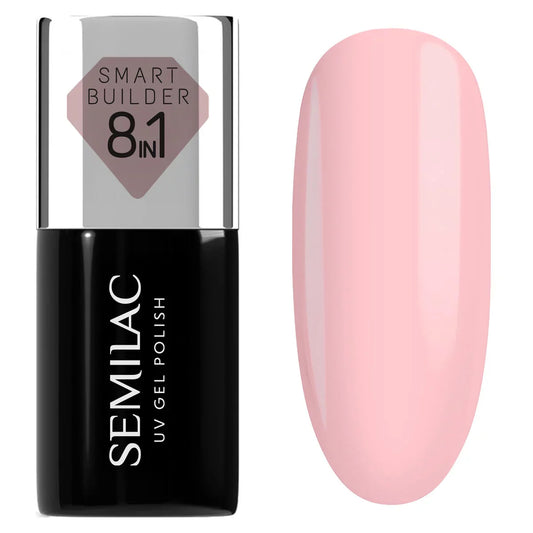
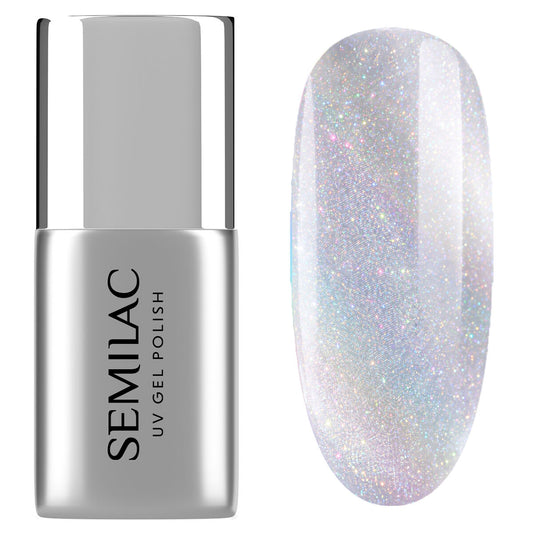
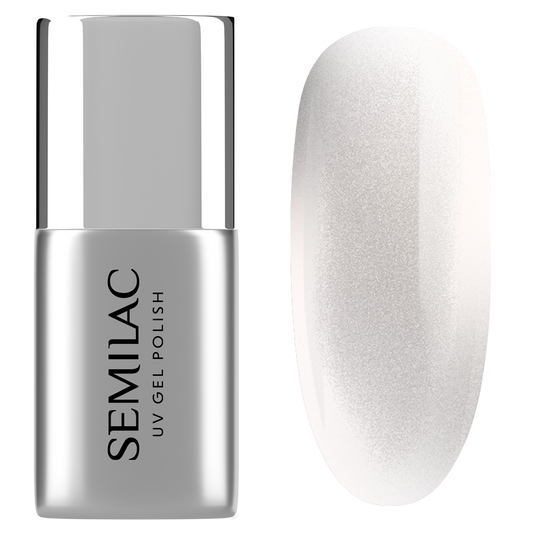
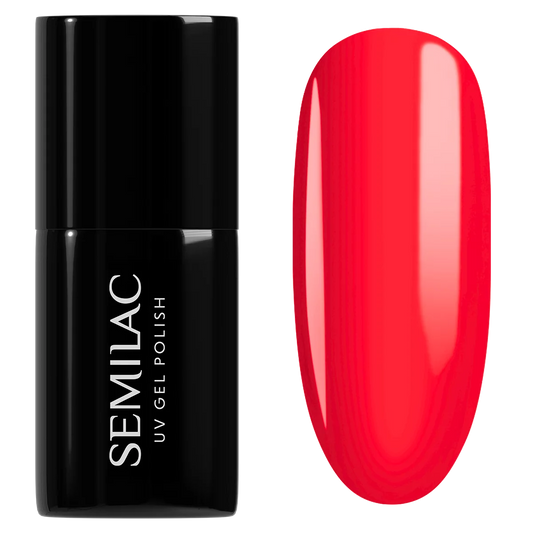
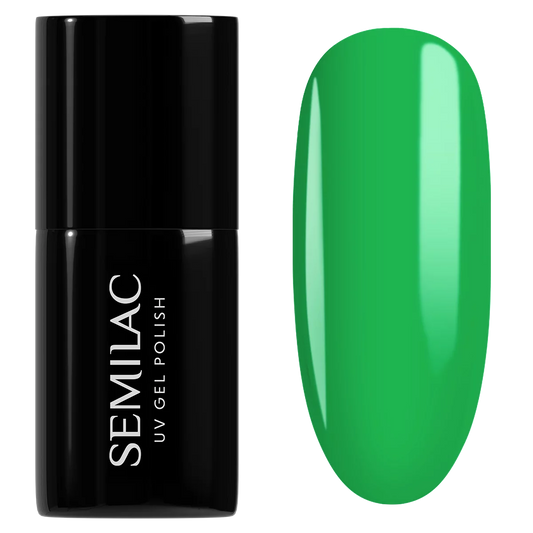
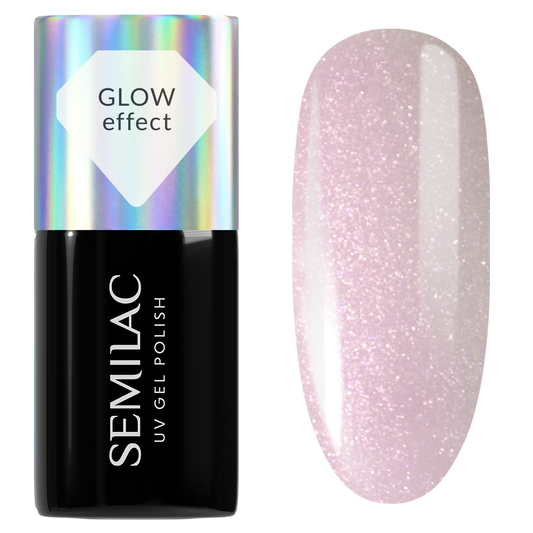
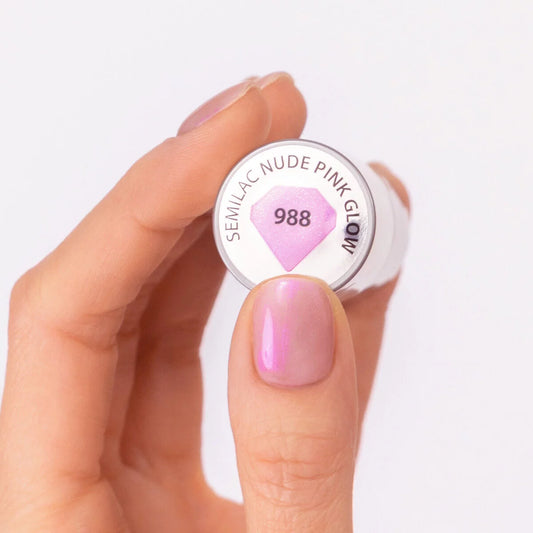
Thin layers win every time with Gel UV Hybrid formulas. Apply your first coat of color - whether it's Aphrodite's Kiss A709 or bold Red Heartbreaker 392 - keeping it thin and even. Cap that free edge again with each layer. Cure completely. Apply a second thin coat, cure again. Most shades achieve full opacity in two coats when applied correctly.
Here's an insider tip: if you're working with lighter shades that show streaks, try this technique. After your first color coat, cure it but don't clean the sticky layer. Apply your second coat in the opposite direction - if you went base to tip on the first coat, go tip to base on the second. This cross-application fills in any micro-gaps and creates perfectly even coverage.
Top coat for maximum longevity
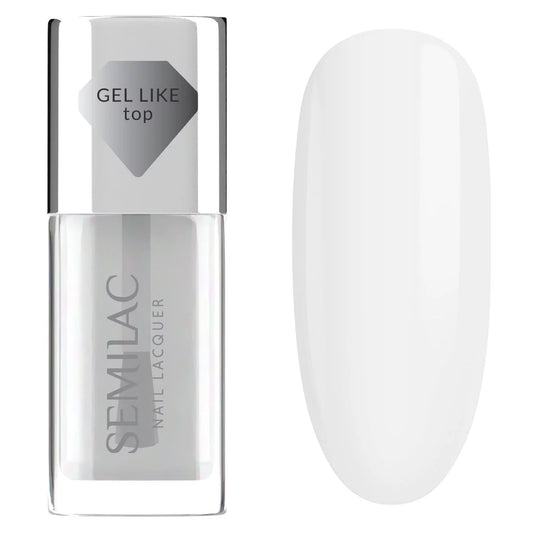
A top coat isn't just about shine - it's your wear-time insurance. Apply it slightly thicker than your color coats, making sure to cap that free edge one final time. We've found that many early chips happen because the free edge wasn't properly sealed with top coat. Pay special attention to the sidewalls and cuticle area too. Cure fully, then cleanse if your top coat requires it. The result should be glass-smooth and completely sealed.
Common application mistakes to avoid
These errors cause most early failures:
-
Skipping the edge cap on any layer - water seeps in and causes peeling
-
Applying thick coats to speed up the process - they don't cure properly and wrinkle or peel
-
Not curing long enough between layers - uncured gel underneath causes the whole manicure to fail
-
Getting gel on skin or cuticles - clean it up before curing or it lifts within days
-
Using old, thickened gel - consistency matters for proper application and curing
Advanced technique: using jelly builder
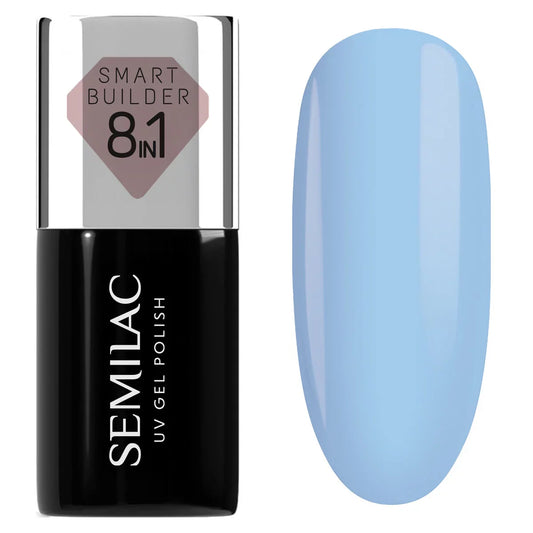
For clients with weak or damaged nails, Semilac Jelly Builder Gel Thixo Natural Pink adds strength before color application. Apply a thin layer over your base coat, cure it, then proceed with color as normal. This extra step creates a protective barrier that prevents bending and breakage. It's particularly useful for those who type constantly or work with their hands - the added thickness distributes stress across the nail instead of concentrating it at weak points.
The cleanup game changer
Here's something that saves significant time: Jelly Nail Tape applied around the nail before you start. It catches any excess gel, and when you peel it off after curing your final layer, cleanup is instant. For those doing multiple sets back-to-back, this technique speeds up service without sacrificing quality. The tape protects skin from both gel and acetone during cleanup.
Why technique trumps products
We recommend quality products, but even the best gel fails with poor application technique. Following these steps consistently delivers results that last. The cap-and-seal method, thin layers, and proper curing make all the difference. Master these fundamentals and you'll wonder why you ever struggled with lifting or chipping. Perfect application isn't complicated - it's just precise.


No comments
0 comments