


The Most Common Mistakes When Working with Acrygel – and How to Avoid Them

Acrygel is a real game-changer in the world of nail styling! If you're dreaming of strong, beautiful, long-lasting nails – and want an easy application process – this product is made for you.
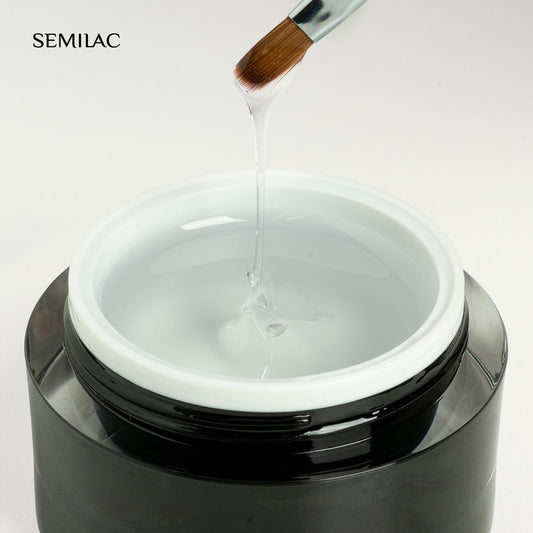
Technically speaking, acrygel is a thick, non-self-leveling gel that must be cured under a UV LED lamp. So why the “acryl” in the name? It refers to the application method – similar to acrylics, acrygel is shaped and “patted” onto the nail surface. Unlike acrylic, however, it doesn’t dry on its own, giving you unlimited time to perfect the shape before curing. Once cured, it's harder than standard gel, making it ideal for nail extensions, strengthening weak nails, and addressing challenges other products can’t solve.
Why Choose Acrygel?
-
Combines the best of both worlds: acrylic strength with gel flexibility.
-
Doesn’t flood the cuticles, making it beginner-friendly.
-
Great for extensions using forms, tips, dual forms or for reinforcing natural nails.
-
Offers unlimited modeling time – cure only when satisfied with the shape.
-
Excellent for improving durability when gel or hybrid manicures tend to chip.
Common Acrygel Mistakes (and How to Prevent Them)
Even experienced gel users can slip up when switching to acrygel. This product has its own rules – master them, and you'll get flawless, long-lasting results.
1. Skipping Proper Nail Prep
Prep is everything. If the nail isn’t properly prepared, even the best acrygel won’t adhere. Always:
-
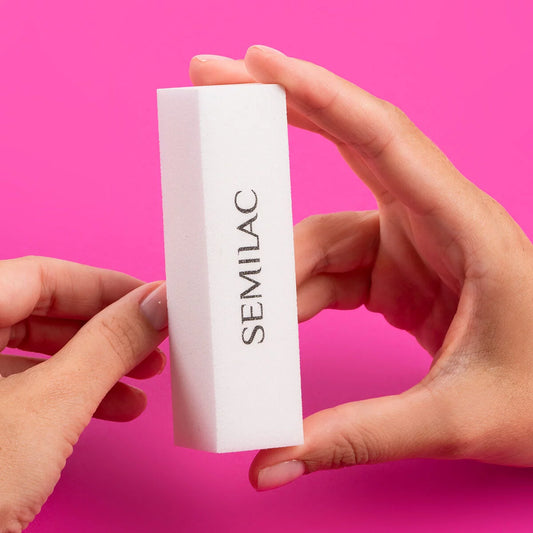
Buff the nail plate thoroughly – no shiny areas should remain.
-
Cleanse and degrease the surface, and push back/remove cuticles.
-
Apply a primer to improve adhesion between the natural nail and the product.
2. Skipping the Base Coat
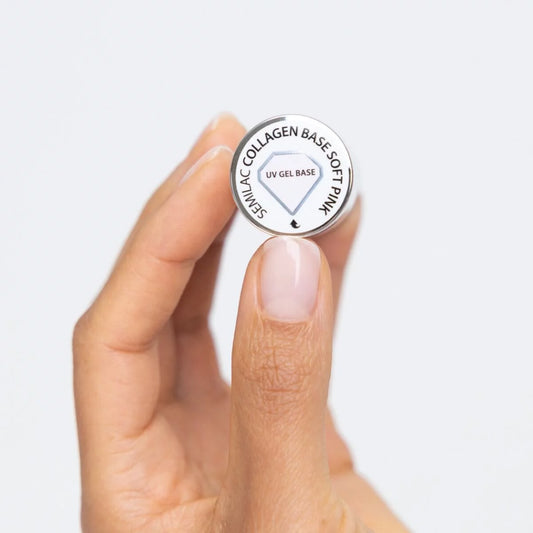
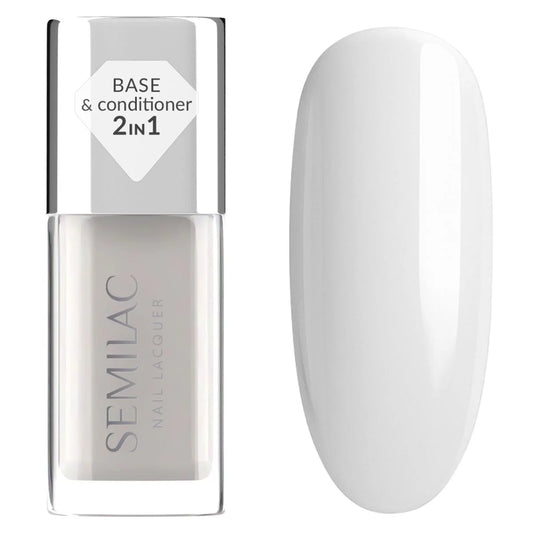
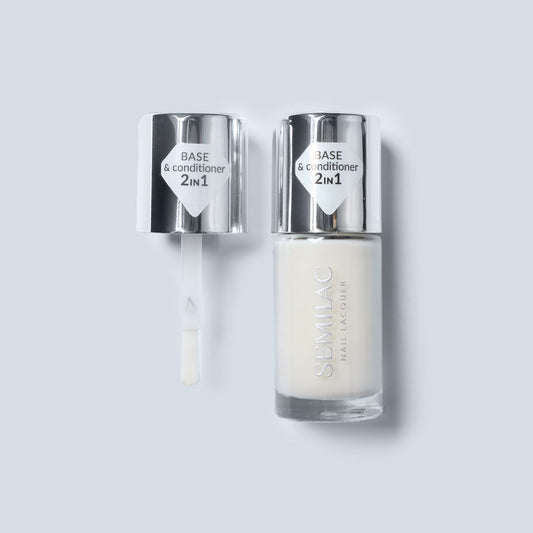
A base coat is essential. Without it, the acrygel won’t bond well and may lift. After prepping, apply a thin layer of base coat (like Semilac Base), working it into the plate with a gel brush as if massaging it in. Then cure and proceed with acrygel.
3. Not Using Acrygel Liquid
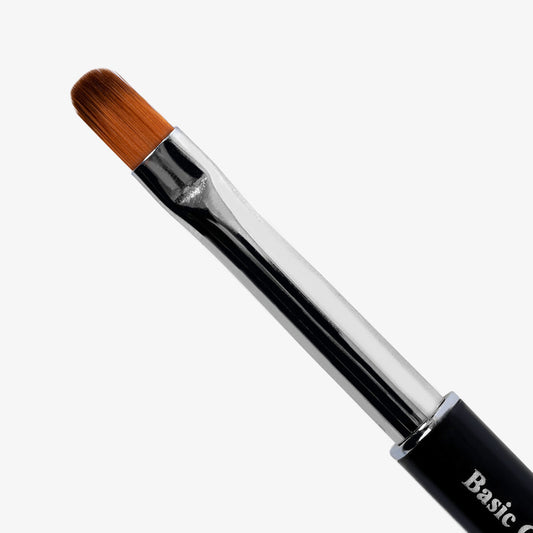
Acrygel is dense and sticky – working it without the proper liquid makes shaping difficult. Use a tool to place the product, then smooth and shape with a gel brush dipped in acrygel liquid. Dip your brush often to prevent sticking and ensure smooth results.
4. Applying Too Much Product
More product doesn’t mean stronger nails. Overloading, especially around the cuticles and edges, can cause:
-
Lifting
-
Air bubbles
-
Cracking
A thin, even layer is enough – acrygel is naturally strong and provides great reinforcement.
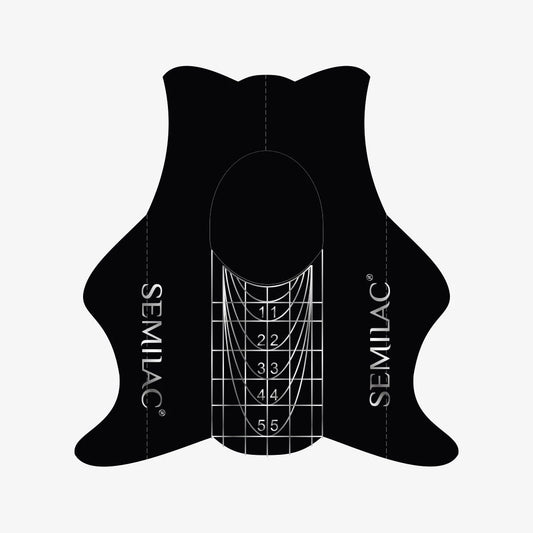
5. Incorrect Form Placement
When using forms or dual forms for extensions, they must align perfectly with the natural nail’s growth points. Poor alignment can lead to weak spots or breakage. When in doubt, choose a slightly larger form and file away any excess after curing.
6. Insufficient Curing or Weak Lamp
Acrygel needs a solid cure to be durable. Use a UV LED lamp with at least 24W of power, and cure for the full recommended time – usually 60 seconds. Under-cured product won’t hold up and can lift or peel prematurely.
7. Aggressive Removal
Never rip off acrygel! It can severely damage the natural nail. The best removal method is gentle filing with an e-file or hand file, leaving a thin protective layer. Avoid filing into the nail plate.
Acrygel Step-by-Step – How to Create Perfect Nails
With a little practice, you can achieve a professional-looking manicure at home. Here's how:
-
Prep the nails: push back cuticles, buff the surface, cleanse, and apply primer.
-
Apply a base coat and cure.
-
Place a bead of acrygel on the nail (or form/dual form).
-
Shape the product using a gel brush dipped in acrygel liquid.
-
Cure under UV LED lamp for 60 seconds.
-
File and refine the shape.
-
Apply color (optional) and finish with a top coat.
Summary
Acrygel is one of the most reliable ways to create strong, stunning nails. But to get lasting, chip-free results, proper application is key. Always prep thoroughly, use a base coat and primer, shape with the right liquid, and cure under a high-quality lamp. With these steps, your manicure won’t just look great – it’ll last.


No comments
0 comments