Does nail drill damage nails? How to safely remove manicures
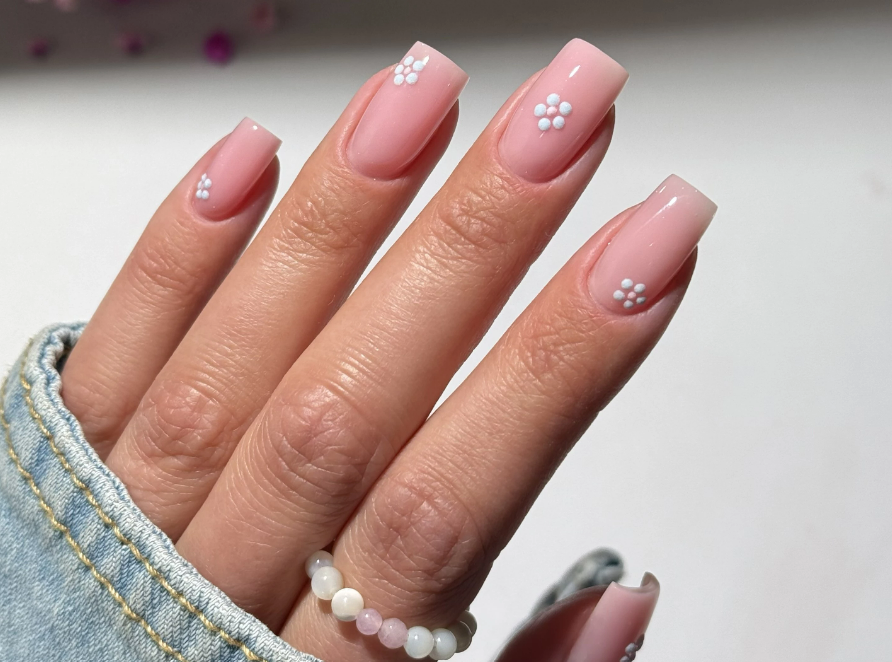
Does nail drill damage nails? How to safely remove manicures. Learn the truth about nail drills and master safe manicure removal techniques! Discover professional methods for protecting natural nails while achieving perfect results.
Debunking nail drill myths
Nail drills have gained tremendous popularity among both professional nail technicians and home users, yet misconceptions about their safety persist. Many clients worry that electric nail drills will damage their natural nail plates or create long-term problems. The truth is that when used correctly with proper technique and appropriate settings, nail drills actually provide safer, more precise manicure removal than traditional methods. Understanding the facts helps dispel fears and allows both professionals and clients to benefit from this versatile tool.
Professional nail drills offer numerous advantages over manual removal methods. They provide precise control for product removal, allow for gradual material reduction that protects natural nails, and significantly reduce service time while improving accuracy. The key lies in proper education, appropriate speed settings, and selecting the right drill bits for specific tasks. Modern nail drill technology has advanced considerably, offering features like adjustable speed controls, ergonomic designs, and specialized bits that make safe operation achievable for users at all skill levels.
Safe removal techniques
Successful nail drill operation begins with proper preparation and equipment inspection. Always examine drill bits before use, ensuring they're clean, sharp, and appropriate for the intended task. Worn or dirty bits require more pressure and can cause damage to natural nail plates. Speed selection depends on the specific procedure – cuticle work requires lower speeds around 7,000-10,000 RPM, while product removal can safely use 15,000-20,000 RPM for experienced users.
Essential safety practices include:
-
Maintain steady hand support throughout the procedure
-
Use light, consistent pressure without forcing the bit
-
Keep the drill bit moving to prevent overheating
-
Work in thin layers, checking progress frequently
-
Leave a thin product layer for final hand-filing removal
Direction control proves crucial for safe operation. Right-handed technicians should use forward rotation (FWD) while left-handed users need reverse rotation (REV) to maintain proper control and prevent bit jumping. Incorrect rotation direction can cause the drill bit to catch and potentially damage surrounding skin or cuticle tissue.
Professional bit selection
Different nail drill bits serve specific purposes, and selecting appropriate bits ensures both safety and effectiveness. 003 Small Carbide Cone offers excellent control for beginners, providing gentle material removal while building confidence with drill operation. This bit works particularly well for gel polish removal and general nail shaping tasks. 011 Sharp Cone delivers more aggressive cutting action suitable for experienced users working with harder materials like acrylics or builder gels.
Carbide bits excel at product removal due to their sharp cutting edges and efficient material removal capabilities. Diamond bits provide gentler action, making them ideal for cuticle work, nail plate smoothing, and finishing touches. Ceramic bits offer a middle ground between carbide and diamond, providing controlled cutting action with reduced heat generation. Understanding these differences helps technicians select appropriate bits for each step of the manicure process.
Step-by-step removal process
Begin removal by examining the existing manicure and determining the appropriate approach. Gel polish typically requires different techniques than hard gel extensions or acrylic applications. Start with lower speeds and gradually increase as comfort and control improve. Position hands comfortably with adequate support to maintain steady control throughout the procedure.
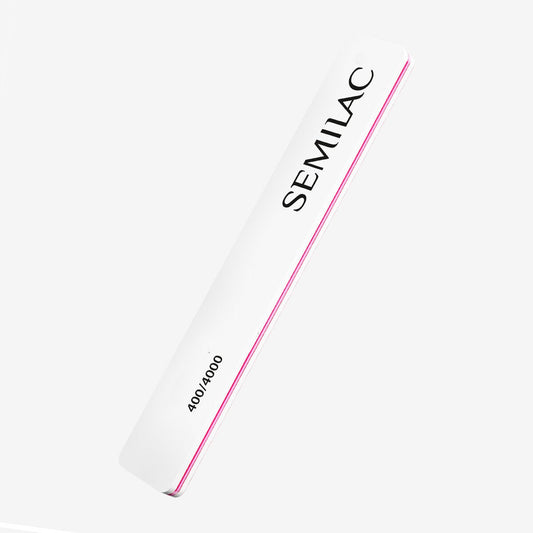
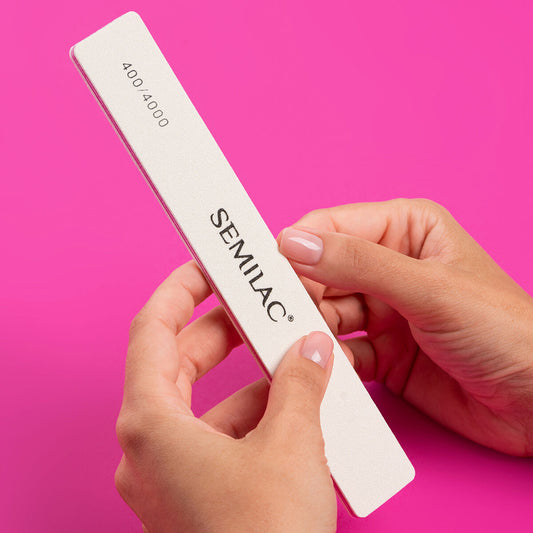
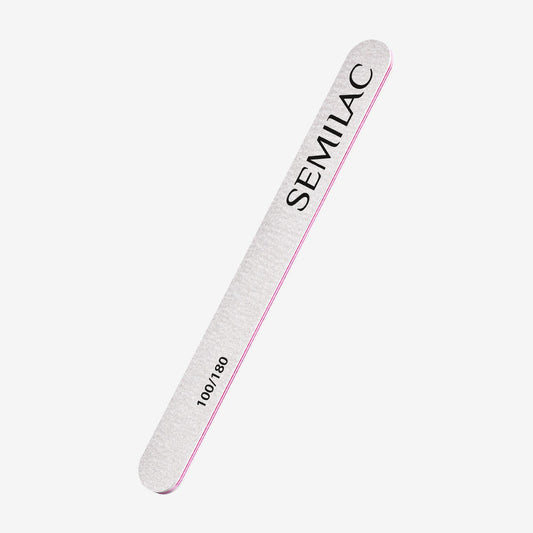
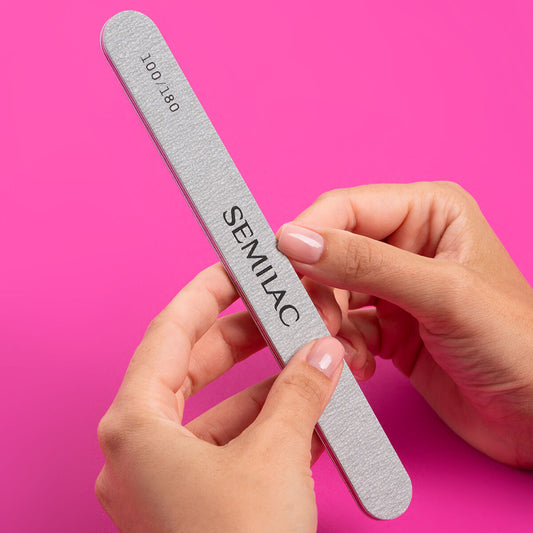
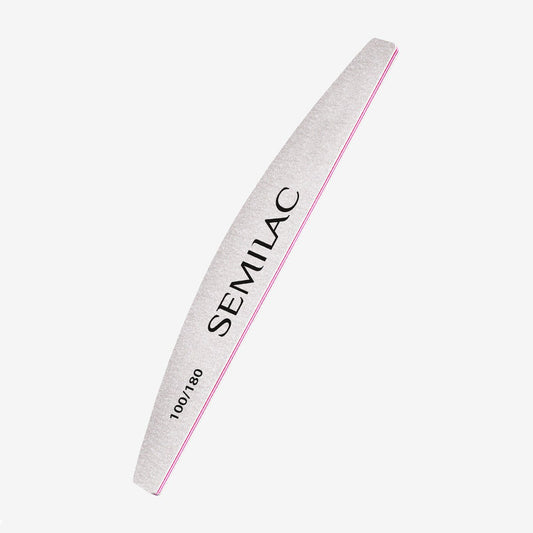
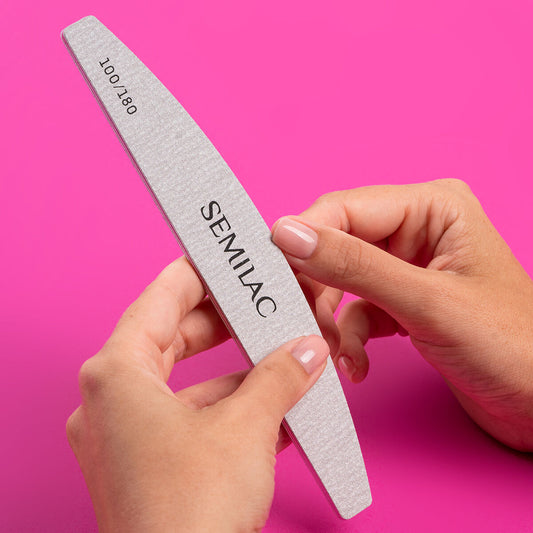
Remove the bulk of product material first, working from the free edge toward the cuticle area. Use overlapping passes to ensure even removal while checking progress frequently. Avoid concentrating on any single area for extended periods, as this can generate heat and cause discomfort. Leave approximately 10-20% of the original product thickness for final removal with Semilac Wooden Nail File White 100/180 or buffers.
Complete the removal process with gentle hand-filing using appropriate grit files. This final step ensures complete product removal without risking damage to the natural nail plate. Clean nails thoroughly and apply nourishing treatments to restore moisture and flexibility to the nail plate and surrounding skin.
Aftercare and maintenance
Proper nail care following drill removal helps maintain healthy nail plates and prepares them for future applications. Apply cuticle oil to restore moisture and flexibility to the nail bed area. Gentle buffing with fine-grit files can smooth any minor irregularities left from the removal process. Allow nails to rest between intensive procedures, giving natural nail plates time to recover and strengthen.
Regular drill maintenance ensures consistent performance and extends equipment life. Clean drill bits thoroughly after each use, removing all product residue and debris. Store bits properly to prevent damage and maintain cutting edges. Follow manufacturer guidelines for drill motor maintenance, including regular lubrication and professional servicing when needed.
FAQ:
How often should I replace drill bits?
Replace bits when they become dull, chipped, or fail to cut efficiently. Quality carbide bits can last several months with proper care and cleaning.
Can beginners safely use nail drills at home?
Yes, with proper education and starting with lower speeds. Begin with gentler bits and practice on nail wheels before working on natural nails.
What speed should I use for different procedures?
Cuticle work: 7,000-10,000 RPM. Product removal: 15,000-20,000 RPM. Always start lower and gradually increase as needed.
No comments
































0 comments